One of the things my family loves eating for dinner is pizza. We used to buy the frozen pizzas from the grocery store, but they all taste like cardboard (however Totinos still carry a soft spot for me). I've always loved the idea of making our own pizzas, and that means making the dough too. This pizza dough is so easy to throw together. I like to make a batch every week and freeze it. One batch makes two pounds of dough which means it makes two pizzas! So I've always got pizza dough in my freezer and on the nights we make pizza for dinner, I let it thaw out in the fridge and then about a half an hour before we start making the pizza, I let it come to room temperature on the kitchen counter. Doesn't that sound like a piece of cake?
I've put together a series of step-by step photos to help ease you into this because I know a lot of people are intimidated by using yeast. I know I was when I first started, but once I got comfortable with it, it's no big deal.
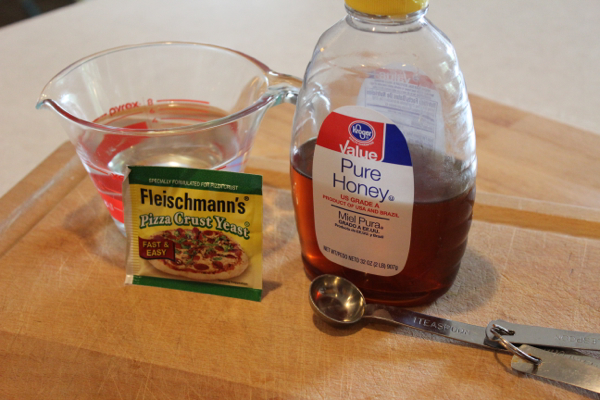
To make the yeast mixture, take one cup of warm water, (warm like bath water) 1 teaspoon of honey, and 1 pkg (2 ¼ tsp) of pizza crust yeast. Combine it all in a bowl and let it sit for a few minutes until the yeast forms bubbles and gets a little foamy looking.

While the yeast is forming, combine your dry ingredients in your Kitchenaid mixing bowl or a large bowl. You'll need 3 cups of flour, 2 teaspoon sugar, 1 teaspoon sea salt, 1 teaspoon Italian seasoning, and 1 teaspoon of ground cinnamon. I always add cinnamon no matter what. I think it adds a really special flavor to the dough. But you can change the seasonings. Sometimes, I'll add fennel seed to the dry ingredients as well. It's just a matter of preference. If you're using a Kitchenaid mixer, you'll want to add the dough hook attachment. If not, you can always go old school and mix everything by hand.
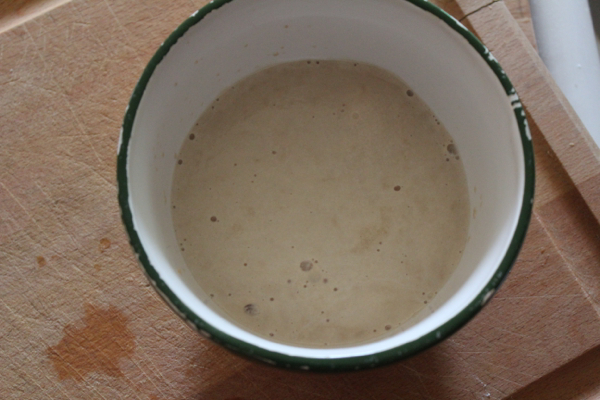
By the time you've mixed all of your dry ingredients together, your yeast should be done. It will look something like this. Sometimes I have more bubbles and sometimes I don't.
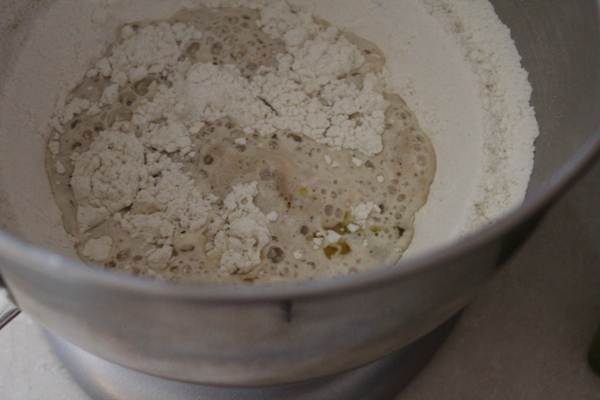
Pour the yeast into the mixing bowl with 2 tablespoons of extra-virgin olive oil. Lock and load your mixer, and mix on low speed for a few minutes.
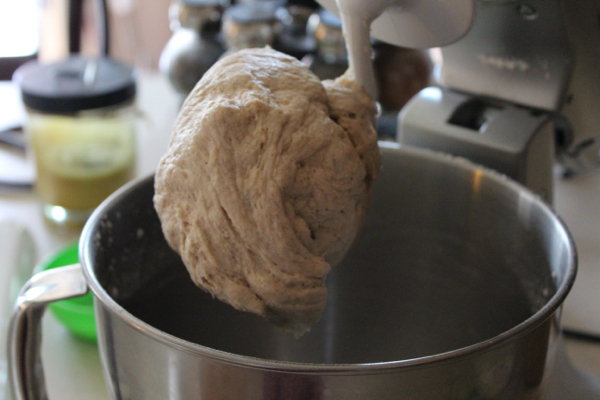
One it starts to come together, speed it up a bit and let it knead the dough until it all comes together into one smooth ball.
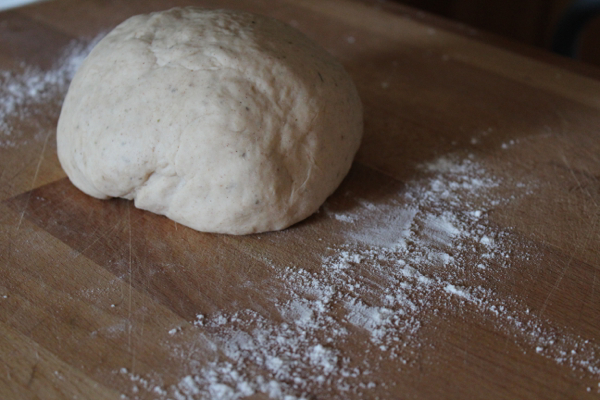
Remove the dough from the dough hook and on a very lightly floured surface, knead the dough by hand for like a minute or two. I think this step is more for me because I like to feel the texture of the dough and kind of play with it.
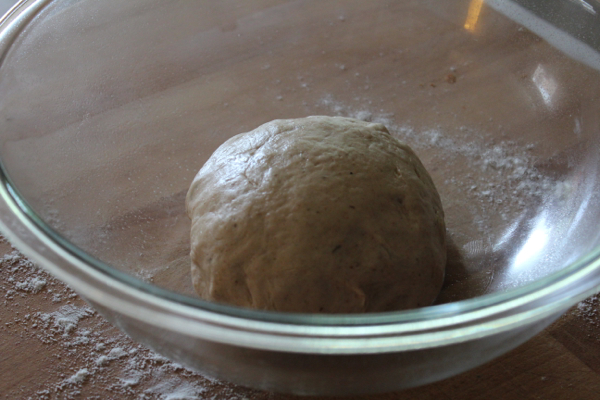
Grease a large bowl with non-stick cooking spray and roll the dough around the bowl until the dough is lightly coated.
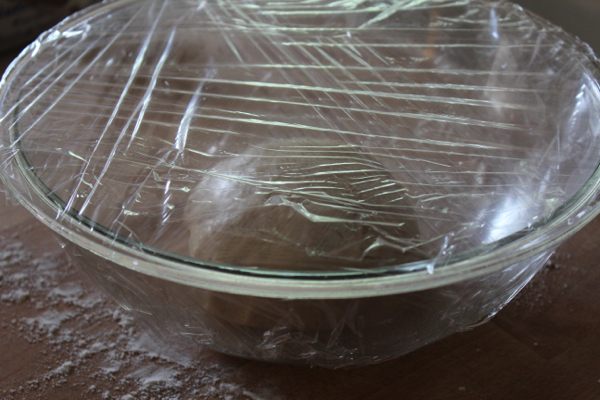
Cover the bowl with plastic wrap and throw the bowl into a preheated oven at 200 degrees. Turn the oven off and set a timer for 30-60 minutes. Let the dough rise until doubled in size. I usually let it sit in the oven for an hour or longer because I'm always doing a million things and I forget about it, but it will be done in 30 minutes too.
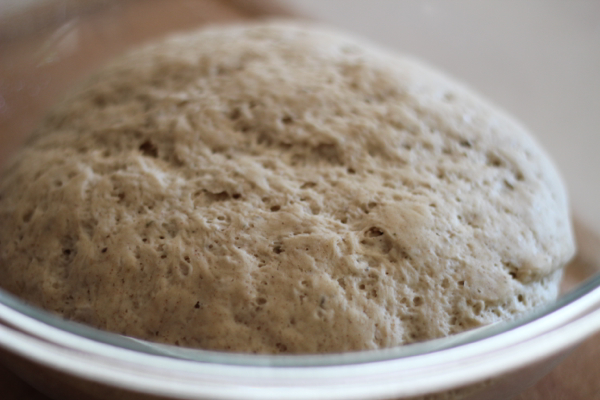
This is what my dough look liked when it doubled in size. Nice and Fluffy looking.

Take a fist and punch the dough down.
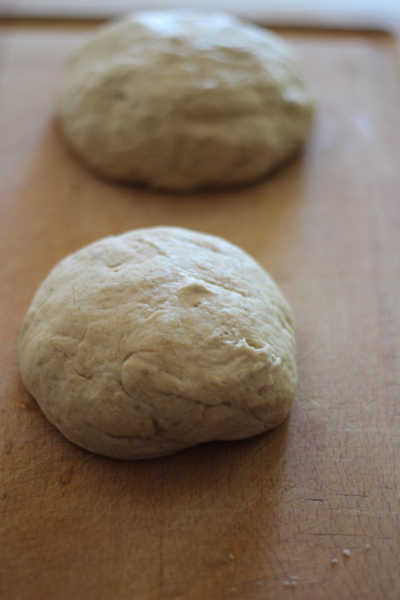
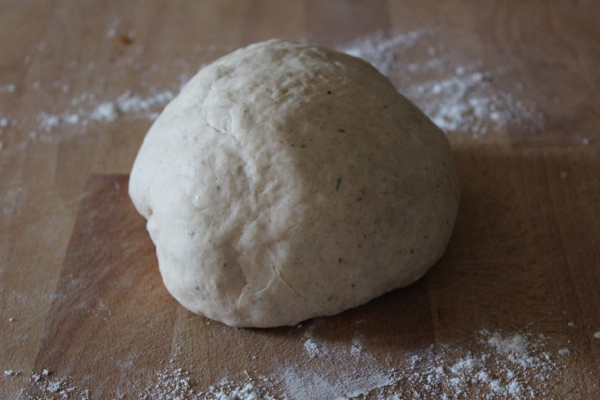
Gather the dough in the bowl and divide it into two sections and form it into a ball. If you're planning on using one ball of dough the night of, just set it aside in a bowl or place it in a bowl and stick it in the fridge till you are ready. But if not, go ahead and throw the balls of dough into two large freezer ziploc bags.
That's all there is to it! It is so easy and this dough is really tasty. You can use this dough for pizza pockets, stromboli, calzones, and it works beautifully on the grill. You can't go wrong with this recipe!

Homemade Thin & Crispy Pizza Dough
An easy, flavorful pizza dough that has endless possibilities!
Makes: 2 lbs of pizza dough
Prep Time: 15 minutes
Rise Time: 30-60 minutes
Total time 45-85 minutes
Ingredients
1 pkg (2 ¼ tsp) pizza crust yeast
1 teaspoon honey
1 cup warm water
3 cups all-purpose flour (you can use whole wheat flour too)
1 teaspoon sea salt
1 teaspoon ground cinnamon
1 teaspoon Italian seasoning
2 teaspoon sugar
2 TB extra-virgin olive oil
(Optional seasonings: Fennel, Oregano, etc)
Directions
- Pre-heat oven to 200 degrees. In a small bowl, mix together yeast, honey, and warm water. Let sit for a few minutes until yeast is foamy and bubbly.
- Using a mixer with a dough hook (or by hand with a wooden spoon) mix flour, salt, sugar, cinnamon, and Italian seasoning together. Pour in yeast mixture and extra-virgin olive oil, mix on a low speed for a few minutes or until the dough begins to come together. Increase the speed until the dough forms a smooth ball.
- Remove dough from hook and gently knead for a few minutes on a lightly floured surface. Spray a large bowl with non-stick cooking spray and place the dough in the bowl, turning to coat. Cover with plastic wrap until dough has doubled in size, about 30-60 minutes.
- Dough is ready when it stretches when pulled. Divide the dough into two halves. Form into two balls and place in large freezer ziploc bags.
- If using dough right away, prepare pizza dough as the directions to your pizza recipe instruct.
- *To thaw pizza dough, simply throw the ziploc bag into the fridge until completely thawed. 30 minutes before preparation, allow the dough to sit on the kitchen counter (in the bag) and come to room temperature.
Pizza Restaurant says
Part of a good pizza is the dough. Thanks for the recipe!
Deborah says
I love homemade pizza dough, and have tried many versions as well. I'll have to give yours a try - I love that it is part whole wheat!