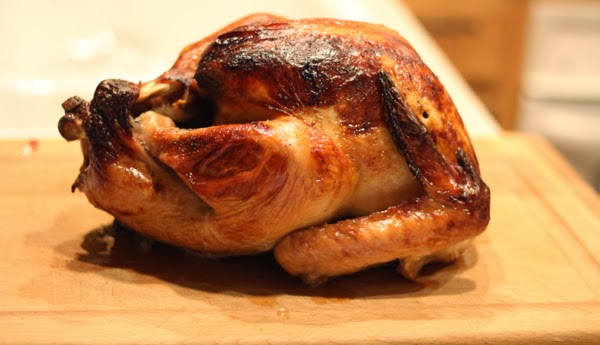
***Forgive the terrible lighting. We cooked this turkey over the weekend and the sun was hiding. #foodblogginginthepacificnw
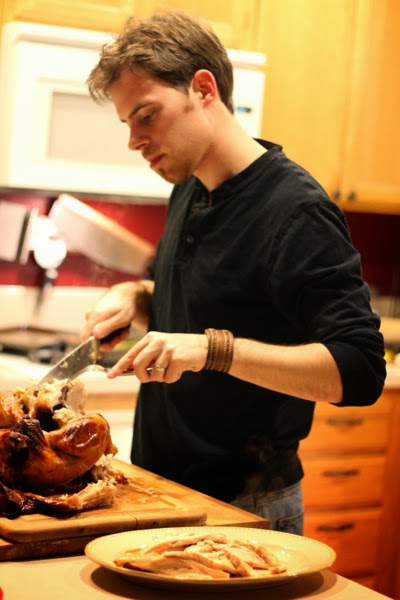
I brined my first turkey a few years ago when I hosted Christmas at my house and I was blown away. It was the moistest turkey I had ever eaten. The flavor of the brine soaked right through the skin of the turkey and right into the meat. While Josh was carving our turkey, he commented that the meat was so tender, that it was falling off the bones!
I like roasting turkey's and to be very honest...roasting a turkey is easier than brining one, seeing as there aren't as many steps. But the problem I find with roasting vs. brining, is that the turkey is very hit and miss when it comes to keeping it from drying out. For me, brining the turkey and taking the extra steps is worth it, when ensuring delicious flavor.
So what goes into brining a turkey?
Before you create your brining liquid, you need to have your turkey picked out. I always buy the frozen turkeys. But if you are going to brine, you either need to buy a fresh turkey OR watch the salt content in your brining liquid because a frozen turkey is already injected with salt.
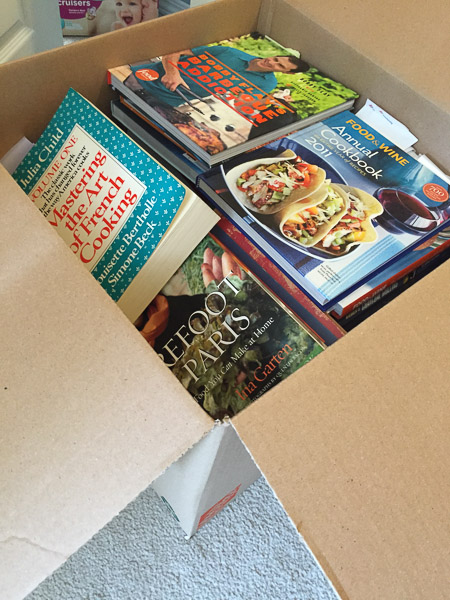
The last few times I've brined my turkey, I've used The Pioneer Woman's brining recipe, but I knock the salt content down by about half a cup in her recipe. By doing that, I've never tasted a salty flavor ever. So while she doesn't recommend using a frozen turkey, sometimes, finding a fresh turkey is hard and expensive. So there is an alternative.
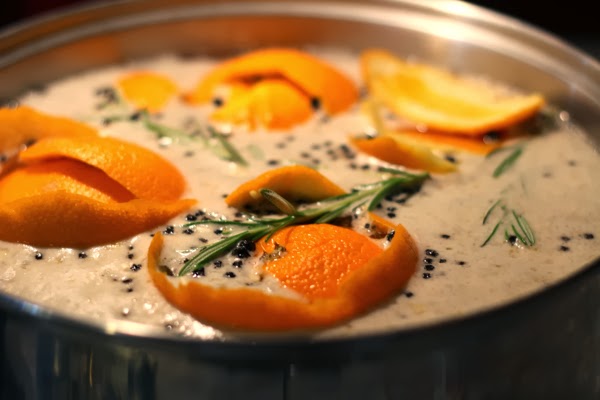
Combine all the ingredients you are going to use in your brine into a super large pot and bring it to a boil. Once it's boiling, turn the burner off and cover the pot and allow its cooled. Now, this...takes awhile. It could take all day if I let it. But about 1-2 hours into the cooling process, I fill my sink up with freezing cold water and place the pot into the sink and let it hang out there until the liquid is completely cooled.
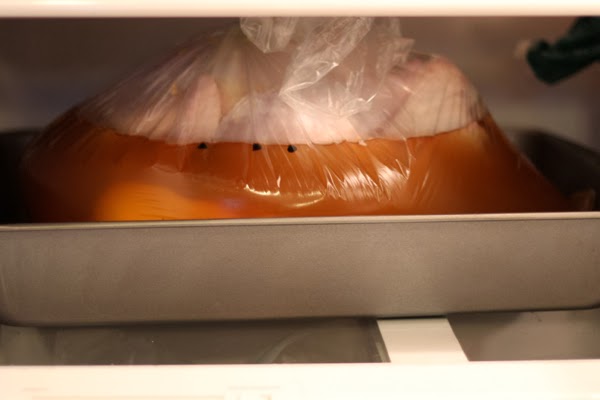
Once the liquid is cooled and they turkey is completely cleaned out, place the turkey into a brining bag (NOT AN OVEN BAG). In the above photo, I am actually using an oven bag. I thought I had an extra brining bag, but I was wrong. All I had was oven bags. Reynolds used to make one but after going to the 3 nearest grocery stores by my house, I quickly discovered that if they still made them, my stores did not carry them. You can find them in stores like Williams-Sonoma, Sur La Table, and even Amazon.
Pour the liquid over the turkey and fasten the bag up, place it in a large pan and allow it to soak for at least 16 hours, but 24 hours would be even better, making sure to turn the turkey from breast to back half way through the brining process.
At this point, once the turkey is soaked you can go ahead and roast it as you usually do, but I follow Ree's roasting method and it works really well for us.
So you can see, there are quite a few extra steps when it comes to brining a turkey and even maybe a little added expense. But I find that it's worth it in the end to ensure a completely flavorful, moist Thanksgiving Turkey.
If your interested in different brining recipes, I know Allrecipes has some or you can even pick up a pre-made blend from one of the stores I listed above.
[…] enjoying food, and certainly writing a food blog, is about trying new things. Last year we wrote about why we had determined that brining was our favorite turkey preparation method, and that may still be true. But there’s a whole world of turkey prep ideas out there, and it […]