I've been making Cheesecakes here and there since my first year of marriage. They came out good, but you could tell I had much to learn. Over the years, I've continued to practice this art of Cheesecake making and I have to tell you, it's a dessert I love to make and I love watching people enjoy it.
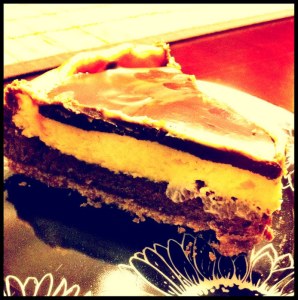
Picture taken with iPhone
I've told you all about how I like to make desserts for the Father's on Father's Day. Josh got his 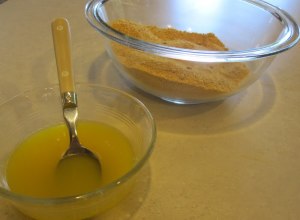
Pre-heat your oven to 325 degrees and get started on the crust of the cheesecake. First you need to grease up your Spring-Form Pan. You need 6 TB of melted butter and 1 ½ cups of graham cracker crumbs and 6 TB of sugar. The original recipe calls for chocolate graham cracker crumbs, but I couldn't find chocolate graham crackers anywhere, only cinnamon. So I used the original Graham crackers and Josh commented on how the chocolate crust might of been to much with this recipe...because this is a rich cheesecake. Combine the sugar and crumbs together and pour in the melted butter.
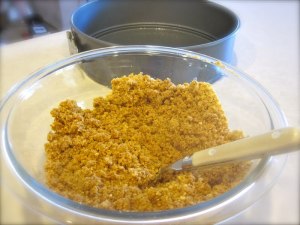
Make sure the butter is evenly distributed so that all the crumbs are coated.
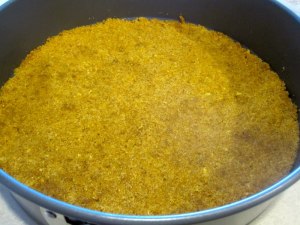
Press the crumb mixture into the bottom of the pan. Place the pan on a baking sheet and bake in you oven for 10 minutes. And then let it cool on a wire rack.
Now it's time to get started on the Cream Cheese mixture. You'll need 4 8oz packages of cream cheese...yeah...that is a lot of cheesecake and you'll need every bit of it. Hopefully, you've let it sit out on your counter for a good while, because it needs to be softened. But if your in a rush, it won't hurt to put them in a bowl and zap them in the microwave for a few seconds. Start with 20 secs and take it from there.
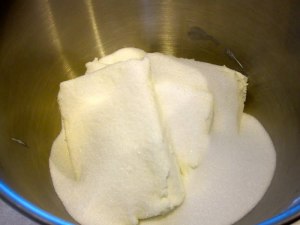
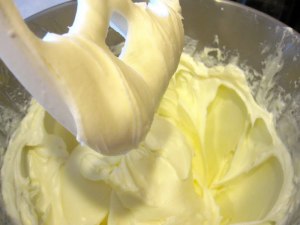
To the cream cheese, add 1 ¾ cups of sugar and beat until it becomes smooth.
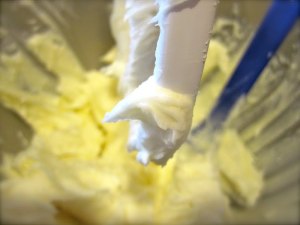
You might need to stop your mixer a few times because with 4 pkgs of cream cheese, the paddle or beaters gets full quick and the mixture needs to be redistributed a few times.
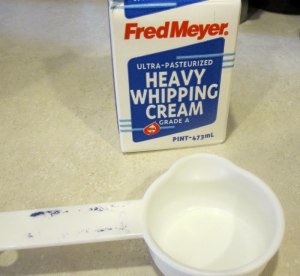
When the cream cheese and sugar is smooth, add in ¾ cups of heavy whipping cream, gradually.
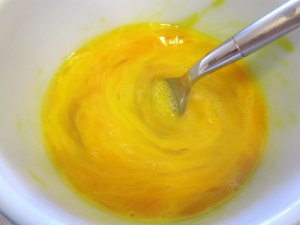
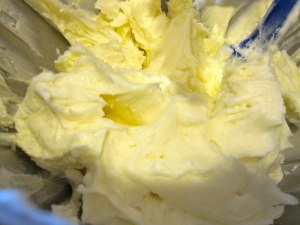
In a small bowl crack 4 eggs and beat them lightly and add them to the cream cheese mixture and beat on a low speed.
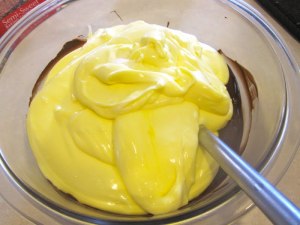
When everything has been combined, reserve 3 ½ cups of the cream cheese and pour it into a bowl.
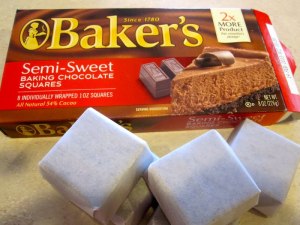
Now abandon the mess you've probably made in your kitchen and it's time to start on a new mess. Take 6 oz of semi-sweet baking chocolate and melt it and let it cool.
When your chocolate has cooled, pour the 3 ½ cups of reserved cheesecake over the chocolate and give it a good mix.
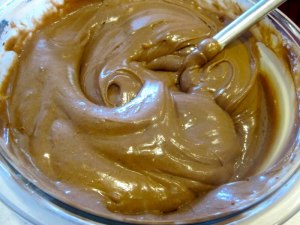
Mmm, chocolate!!!
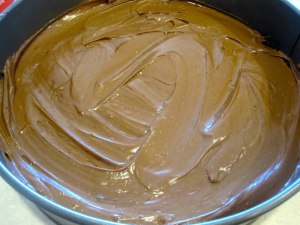
Pour the chocolate cheesecake mixture over your cooled crust.
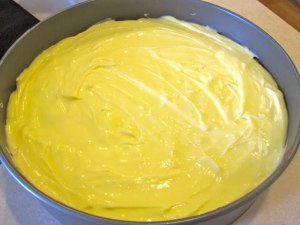
Now here is the tricky part. Very carefully, take the leftover batter and pour it over the chocolate batter, making sure when you spread it to not disturb the chocolate to much. At this point you get to place the spring-form pan back on the baking sheet and place that back in the oven at 325 for 65-75 minutes. My Cheesecake, took the whole 75 minutes to bake.
The center will not be set when you take it out of the oven, but that's okay. It will firm and set as it cools. And the sides of your cheesecake may deflate a little bit, that is also okay :) When the cheesecake is done baking, cool on a wire rack for 10 minutes. Then carefully run a knife around the edge of the pan to loosen and then cool the cheesecake for an additional hour. (See what I mean about this cheesecake..it's time consuming.)
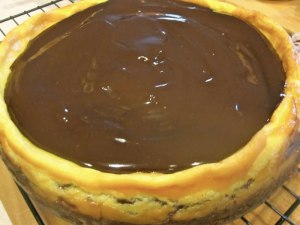
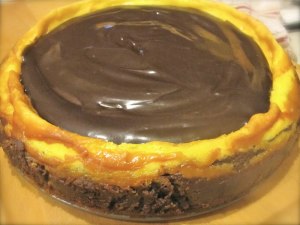
When the cheesecake has just about cooled, get busy working on the chocolate topping. Take 4 more oz of semi sweet chocolate and melt it in a bowl in the microwave again. Meanwhile, take ½ cup of heavy whipping cream and pour it into a sauce pan and bring to a boil. Pour over melted chocolate, and whisk until smooth and let it cool down a bit. Then pour it over the cheesecake and chill in the fridge.
For the best results, make this cheesecake a day ahead of time before you need it. The recipe says it should chill overnight. But I didn't do that. I let it chill in the fridge for 3-4 hours before serving and it was incredible then...the slices the next day were even better.
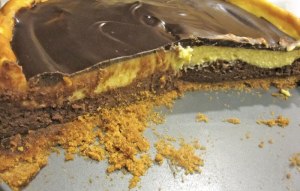
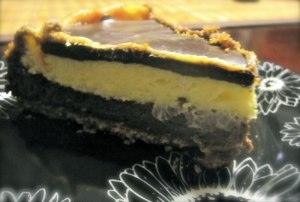
I love the defined layers...so incredibly delicious!
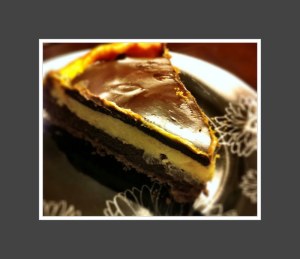
Two-Tone Cheesecake
adapted from Taste of Home Cheesecakes and More Magazine
Crust:
1 ½ cups graham cracker crumbs
6 TB Sugar
6 TB butter, melted
Filling:
4 pkgs ( 8oz each) cream cheese, softened
1 ¾ cups sugar
¾ cup Heavy Whipping Cream
4 eggs, slightly beaten
6 oz semisweet baking chocolate, melted and cooled
Topping:
4 oz semisweet baking chocolate, finely chopped
½ cup heavy whipping cream
In a large bowl, combine cracker crumbs, sugar, and butter. Press onto the bottom of a greased springform pan. Place on a bakin sheet. Bake at 325 degrees for 10 minutes. Cool on a wire rack.
In a large bowl, beat cream cheese and sugar until smooth. Gradually beat in cream. Add eggs, beat on low speed until just combined.
Remove 3 ½ cups to a small bowl; gently stir in melted chocolate. Pour filling over crust. Carefully pour remaining filling over chocolate layer. Return to baking sheet. Bake at 325 for 65-75 minutes or until center is almost set.
Cool on a wire rack for 10 minutes. Carefully run a knife around the edges of the pan to loosen. Cool for 1 hour longer. Meanwhile, place chopped chocolate in a small bowl.
In a sauce pan, bring cream to a boil. Pour over chocolate. Whisk until smooth. Cool slightly; pour over the cheesecake. Cover and Chill overnight. Refrigerate leftovers.
This recipe is linked to:
Alli n Son's Sweet Tooth Friday, La Bella Vita's Fresh Food Friday, Comfy in the Kitchen's Feasting in Fellowship, Friday Potluck @ GirlChef ( Guest Host), Sweet as Sugar Cookies sweets for a Saturday, A Well-Seasoned Life's Sweet Indulgences Sunday, The Sweet Details Savory Sunday, Cupcake Apothecary's A themed bakers sunday, Bizzy B. Bakes' Bizzy Bakes
The Atypical Housewife says
Oh my!! This looks so delicious!! I have made cheesecakes a handful of times, almost always using the recipe on the back of the Bakers chocolate box! The only time I did something different was when I replicated Olive Gardens black tie mousse cake. It took hours to make, but was worth it in the end! Thanks for sharing!!
Monica @ theatypicalhousewife.com
Lisa says
Oh my gosh, what a cheesecake! You really outdid yourself with this one. I'm sure your family is thanking their lucky stars to have such a talented baker.
Lisa says
Chels...are u kidding me? It's beautiful and gourmet looking...we know it tasted spectacular! Xo
Gloria says
Look absolutely heavenly!!! nice! gloria
Chels says
Thank you everyone, you guys are so so sweet! It was fun to make, even if it took awhile, lol!
girlichef says
I've made up my mind that I don't eat enough cheesecake. I need a slice or two of this gorgeous cake to remedy that situation. Stat! Yummy :D
jsrief says
This one was amazing! Seriously, one of the best cheesecakes I have ever tasted (and there have been many...)!
Kim McCallie says
It looks like you've really perfected the cheesecake. It's not my forte but I admire those that can make one. This one looks delicious! Thanks for sharing on A Well-Seasoned Life's Sweet Indulgences Sunday.
http://www.wellseasonedlife.com/2011/07/sweet-indulgences-sunday-11.html
Brandy K says
Your cheesecake looks so good! I love your pics and detailed instructions...makes me want to try it out! Yum! I found you via Sweet Indulgences Sunday.
Bizzy B. Bakes says
You did a stupendous job. It is beautiful to look at and I can only imagine how good it tastes. Why don't you post this at Bake with Bizzy, the second post down? People will love it.
Roz from 'la bella vita' says
I love your quote at the top of your blog about the kitchen being romantic.....amazing isn't it? Thanks so much for sharing this yummy and creative cheesecake last week on Fresh Food Friday! Your contribution is really appreciated and I hope that you can stop by with another recipe post this weekend! Bye for now to find your 'follow' link in order to keep up with your posts!
Chels says
Awe, thank you so much Roz! And thank you for following me :) I dropped in and linked another recipe this weekend :) Have a wonderful weekend :)