The third post in a series on our ultra-low budget kitchen refresh - this is our experience putting in a DIY shiplap kitchen counter bar!
We recently completed an ultra-low-budget “refresh” of our kitchen, which ran us about $500 all-in. This post about adding shiplap to the kitchen counter bar is the third in a series of about five articles sharing our learnings and experiences from this little project, which would be an easy, affordable one to tackle in any kitchen that needs a little breath of fresh air!
I'll link to the first two posts here, and then update with the other two after I get them written!
The first thing I'll say about this particular project is that it's a really simple one. It went very quickly, and unless you have some kind of huge kitchen counter bar, shouldn't take much in the way of materials. As far as tools go, nothing crazy there either, although you might need a table saw, especially if you're having to do the ripping of the plywood yourself (your home improvement store might be willing to do it for you. Alternatively, you could potentially rip the plywood down to 6-inch widths using a skill saw and guide like Kreg's Rip-Cut.
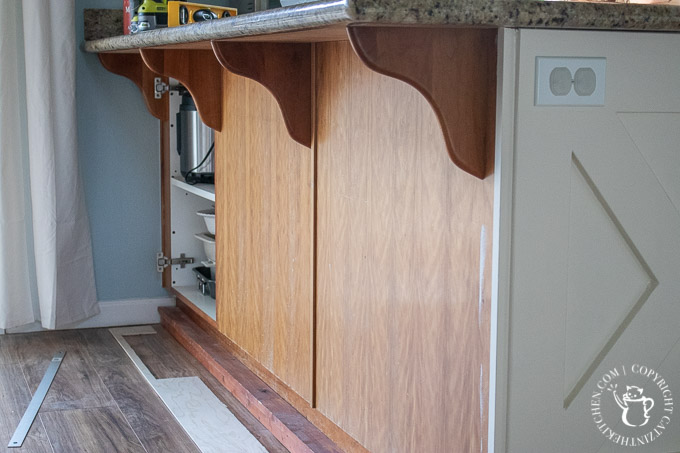
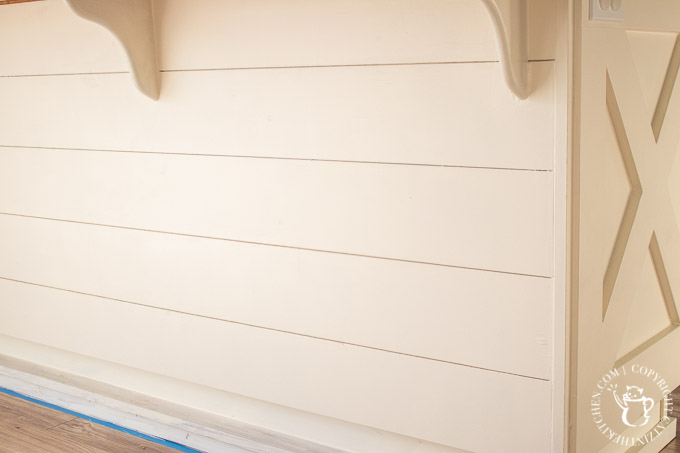
As you can see here, my work surface was seemingly straightforward, but in reality had a few obstacles I would have to work around. The most obvious one was the cabinet opening, but the four corbels were actually far more annoying! The original plan was to remove these corbels and replace them with something with a little character, but when I realized how securely and permanently they were attached to both the cabinets and the countertop, we decided to just paint them for now and (maybe) replace them later.

I started from the bottom, making sure that my first piece of "shiplap" was level, and cutting out a slot for the bottom of the cabinet opening (a careful straight cut with a jigsaw was fine for this). Clearly, this isn't real shiplap - this application is purely cosmetic, and there was no need to add all of that extra weight and thickness to the back of the counter, not to mention the havoc that extra thickness would wreak on the cabinet door hinges! No, this "shiplap" is plywood ripped into six-inch wide planks. I've tried a couple of different types of plywood for this application (cosmetic shiplap), and my preferred variety is this plywood underlayment from Home Depot (I assume you can also find it elsewhere). It doesn't add much thickness (⅕ inch), but still has a nice stiffness to it that keeps it from bowing out once you've got it tacked to the wall (or whatever surface you're working on). It also takes paint reasonably well.
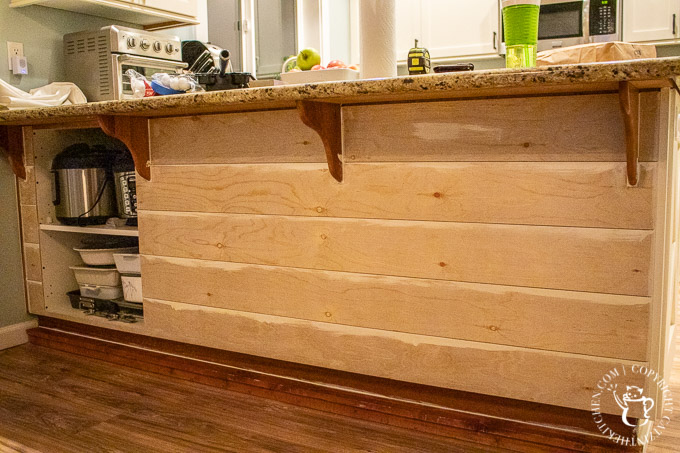
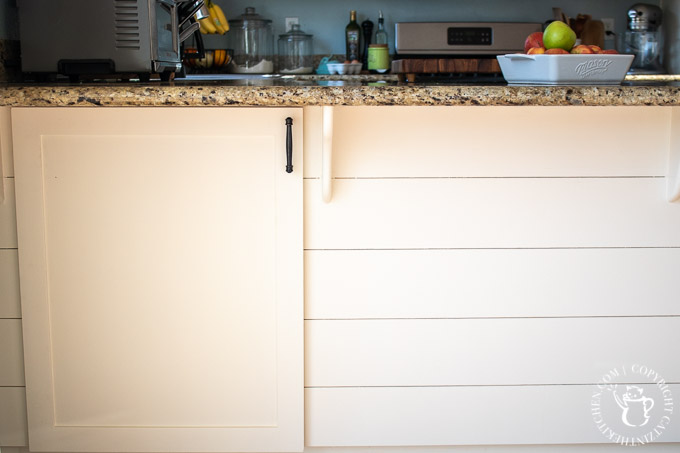
Here are a couple of things to keep in mind, should you attempt this project for yourself. I used a cordless brad nailer to tack up my planks, along with some Liquid Nails applied to the back of each one. When you get the first plank up, take your paint and brush along the top of the plank, covering the upward-facing edge of the board and the portion of the wall that will show between each plank. Then, before you tack up the next plank, roll or brush a little paint onto the bottom edge of the next board - you'll have a really hard time reaching that bottom edge once it's mounted. (You can see this in the two pictures above.) Lastly, for spacing, I recommend nickels. Some shiplap is called "nickel gap" shiplap for a reason, and I'm assuming that reason is because the gaps are the width of a nickel! At any rate, I used about three nickels (which I borrowed from Eden, I'll admit - I have no nickels in my possession) to space these planks as I went along.
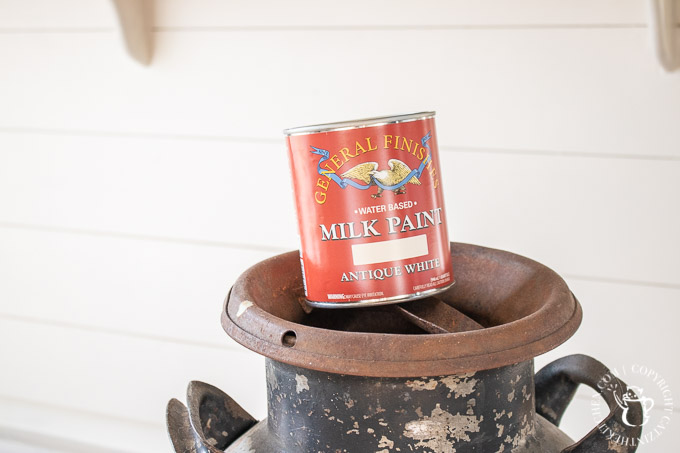
As with each of these DIY kitchen refresh projects, we used General Finishes milk paint in Antique White for the finish. I already talked about this paint quite a bit in the cabinet painting post, so I'll refer the curious back to that post. It's good stuff! (Not sponsored...)
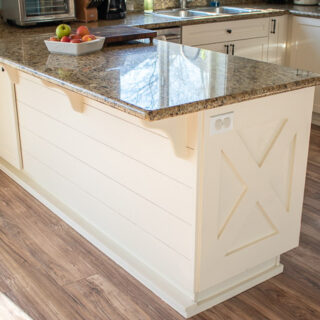
So, there you have it - I did just the tiniest bit of caulking around the ends of the planks to make things look a little more finished, and I'm realizing looking at these pictures that I should probably do something about that electrical outlet cover on the end of the counter - that white sticks out like a sore thumb against the Antique White milk paint!
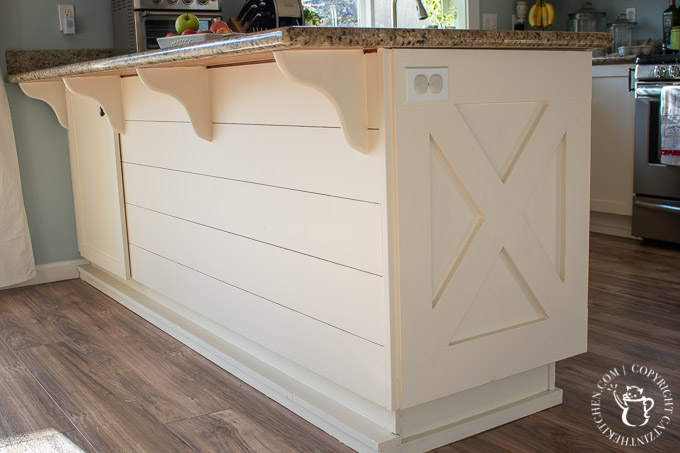
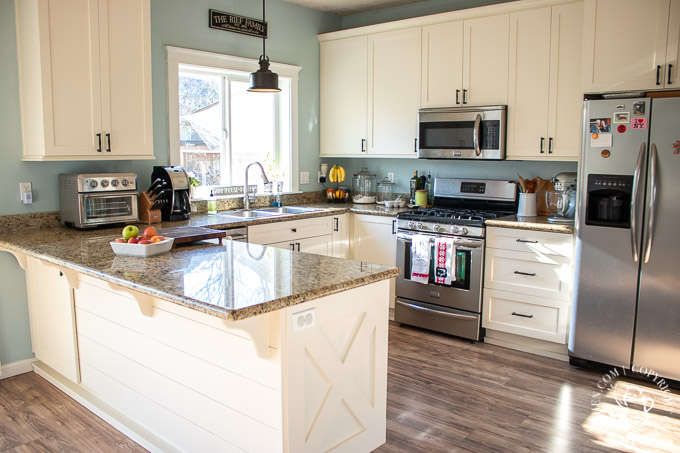
So, after this quick little project, the cabinets were painted, the crossbucks ("X") was added to the end of the counter, and the counter bar was covered in shiplap. Oh, and we replaced the recessed lighting fixture over the sink with the pendant you see in the picture below. What's next? Why, that would be a subway tile backsplash, of course! Stay tuned for that post!
DIY Shiplap Kitchen Counter Bar
The third post in a series on our ultra-low budget kitchen refresh - this is our experience putting in a DIY shiplap kitchen counter bar!
Materials
- ⅕ in thick 4x8 hardwood plywood underlayment, ripped into 6-inch wide planks (size and quantity will depend on the size of your project)
- Paint
- Brad nails
- Caulking
- Painter's tape
- Sandpaper
- Construction adhesive (such as Liquid Nails)
Tools
- Miter saw
- Jigsaw
- Table saw (helpful)
- Caulking gun
- Brad nailer
- Measuring tape
- Safety glasses
- Paint brush
- Small foam roller
Instructions
- Ensure surface to be covered in faux shiplap is clean smooth
- Cut shiplap planks to desired length to fit coverage area using miter saw. If partial-width planks are needed, a table saw is the most accurate way to do this. If cutouts are needed for electrical outlets, cabinets, counter support corbels, etc, use a jigsaw for this.
- Mount shiplap planks to surface using construction adhesive and brad nails. If mounting to a drywall surface with studs, try to align brad nails with studs. Use a level to ensure planks are straight as you go.
- Before mounting another plank, ensure that top edge (or bottom edge if working from the top down) of previously mounted plank is painted, along with the strip of the surface that will show through the plank gaps. In addition, be sure that the edge of the new plank that will face the exposed edge of the previous plank is painted prior to mounting, as it will be inaccessible after mounting.
- Mount next plank with a small gap between it and the previous plank, using the edge of a nickel or some other spacer roughly 2 mm thick.
- When finished, mask with tape as needed, caulk edges of planks as needed, and paint with brush and foam roller. Because the wood is bare, expect to need to complete 2-3 coats to achieve desired coverage.


Amy says
The whole kitchen looks great! May I ask what color your walls are?
Joshua Rief says
Thank you, Amy! Had to go and check our paint chips from when we first moved in for that one! It’s “Tradewind” from Sherwin-Williams.
Jessica says
What type and size wood did you use for the crossbucks at the end of the bar?
Chelsia Rief says
Hi, Jessica - we actually did a whole separate post on the cross bucks that will probably answer your question in more detail. It was discarded MDF from Home Depot. Hope that helps!
Jessica says
@Chelsia Rief, it does help. Thank you. I just happened to do a Google search for shiplap cabinets and came across your post. Going to try this project at the end of summer.