The fourth post in a series on our ultra-low budget kitchen refresh – this is our experience putting in a DIY subway tile backsplash!
We recently completed an ultra-low-budget “refresh” of our kitchen, which ran us about $500 all-in. This post about adding classic subway tile backsplash is the fourth in a series of about five articles sharing our learnings and experiences from this little project, which would be an easy, affordable one to tackle in any kitchen that needs a little breath of fresh air!
I’ll link to the first three posts here, and then update with the last one after I get it written!
- Painting our Kitchen Cabinets with White Milk Paint
- DIY Farmhouse Kitchen Counter Crossbucks
- DIY Shiplap Kitchen Counter Bar
Okay, here's the deal with this bit of the project. It made me nervous.
I have never (ever) worked with tile in any way, shape, or form before. I've never worked with grout. I've never used a tile saw. There were just a lot of never-evers here, and it made me nervous (as previously stated). Usually, when tackling a project, I've got some frame of reference. I mean, at least when you're building a deck for the first time, you've probably cut wood before.
So, yeah. I really had no idea where to begin.
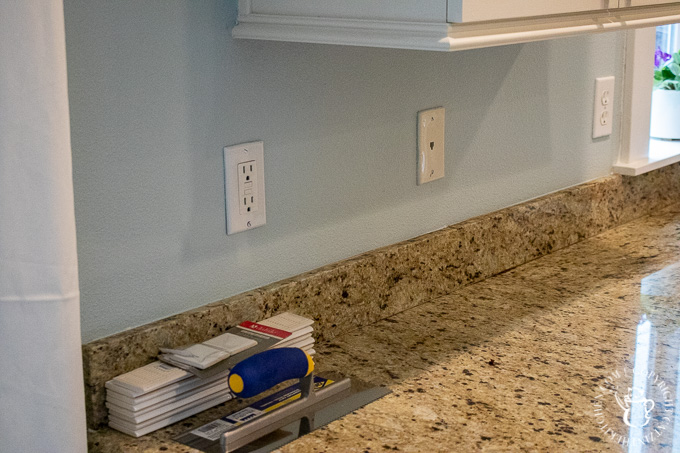
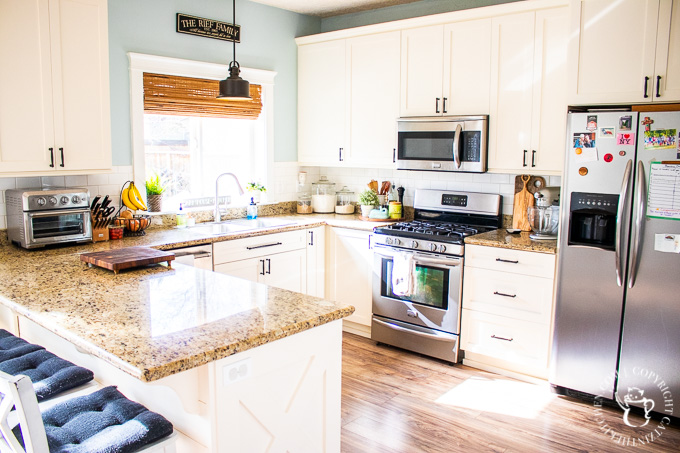
What I did know was that Chels had always wanted a classic, clean subway tile backsplash in the kitchen. Like most homes built as part of a large housing development, our backsplash was pretty run of the mill. We had a bit of granite that ran around the base of the wall, creating a short backsplash of maybe four or five inches in height. Above that, just textured and painted drywall.
Before we go any further, I'll give you my standard disclaimer about my own DIY abilities and the purpose of this post. First, I’m an amateur! That will be obvious as we go forward, I’m sure! My goal here is not to instruct you on every aspect of how to execute a similar project, but merely to share my experiences, what seemed to work well and what didn’t, what resources I found helpful, what I would do differently, and so on, in an effort to make your experience better and easier should you embark on a project of your own! Naturally, any DIY project you take is always at your own risk, check your local building codes before you start, etc, etc – you know the drill (no pun intended).

I did some checking around before I got started to confirm that you can indeed just tile your backsplash over the drywall - unless it's particularly heavy or an unusual situation, no need to use backer board, or anything like that. Our situation was decidedly standard, so directly on the drywall it would go. We also considered sheets of subway tile, for an easier (and hopefully straighter) install, but we couldn't find any that were the size of tile we wanted (the classic, traditional 3x6). So, we ended up using the standard, clean, white tile Home Depot sells, which happens to be cheap and exactly what we wanted (a combo that's unusual and quite pleasant). (Here's where I'll give another disclaimer: this post is not sponsored or affiliated with any company, including Home Depot or Ryobi - although, HD or Ryobi, just give me a holler if you're ever interested, ha!)
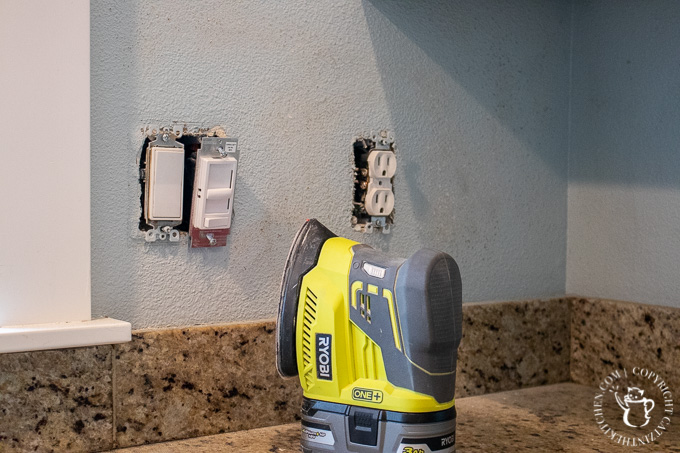
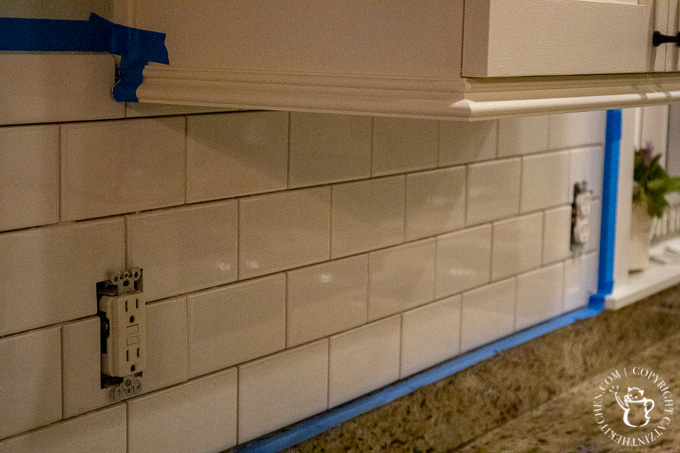
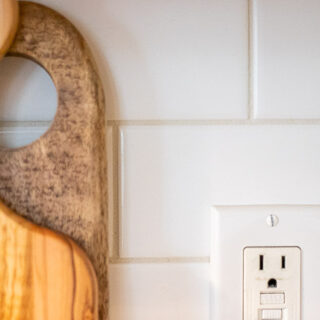
As far as prep goes, I didn't do a lot. Obviously the outlet and light switch covers had to come off, and I had to make sure the walls were nice and clean. As a last step, I gave the drywall a very light sanding.
When that was done, I laid out the tile on the counter so I could get a sense of how many tiles I would need per row, and how I would ensure I wasn't ending with a tiny sliver of tile or something at the end.
I'm going share a couple of the tips I found super helpful at this stage, but first I should probably tell you where I got them! I consulted a lot of different DIY posts and videos on subway tile while putting this backsplash in, but I referred to three of them the most. Young House Love has a great tutorial on their site, and although they used tile sheets, their kitchen setup was so similar to mine, I found it extremely valuable. Homedit has another excellent and extremely detailed tutorial on their site - I especially found their overview on proper use of spacers and the trowel valuable. Lastly, though I did get all of my supplies at Home Depot, Lowe's has a great video on their YouTube channel that provided a ton of visual reference for me.
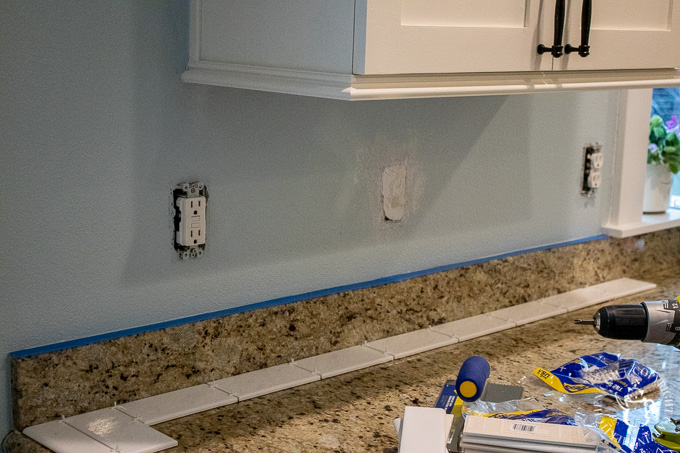
First, tile needs some space. As as spacers go, I used ⅛" spacers between the granite and the first row of tile, and 1/16" spacers between the individuals tiles themselves. Of course, just like the style and color of tile and the color of the grout, the spacing is a personal decision - look at lots of examples online and decide what space is right for your look. For us, 1/16" turned out perfect.
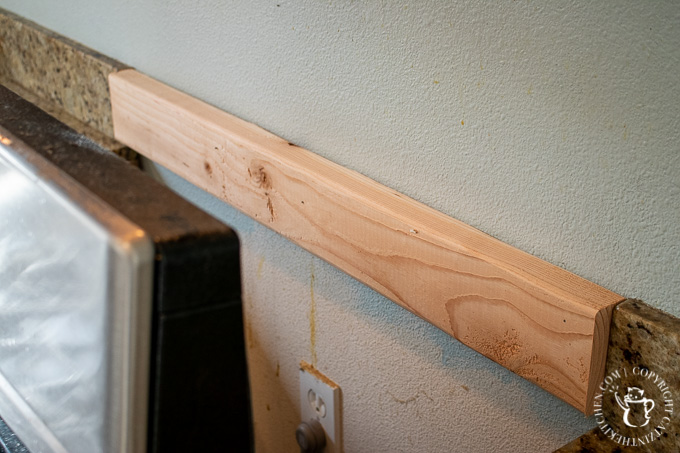
Second, if you have an oven in your kitchen... (*crickets*) ...you probably have a situation similar to us where there's going to be an "unsupported" section of tile running behind the oven (meaning, no counter or granite for the bottom row of tile to rest on). Eventually, when the adhesive is dry, that's no problem, but in the interim, it's got to be supported so your tile rows don't sag (ugh). Fortunately, there's a simple solution, which is to run a board behind your oven (while it's pulled out, of course) for the tile to sit on. You can easily unscrew and discard it when the tile adhesive is dry and the support is no longer required. A tip on this tip: don't use a 2x4 like I did! 2x4's have, of course, a milled edge, which means you don't have a clean edge to rest on (it curves down as it meets the wall). This took a lot of extra spacing on my part to correct, and was not a fun part of the process.
I chose to use tile adhesive to put the tiles themselves up, which I have to say makes the whole project a breeze. No mixing or thinning, etc - so simple. You use your trowel to spread the adhesive on the wall and start tiling. And, because the adhesive doesn't dry too fast, you can spread it over a fairly large section at a time.
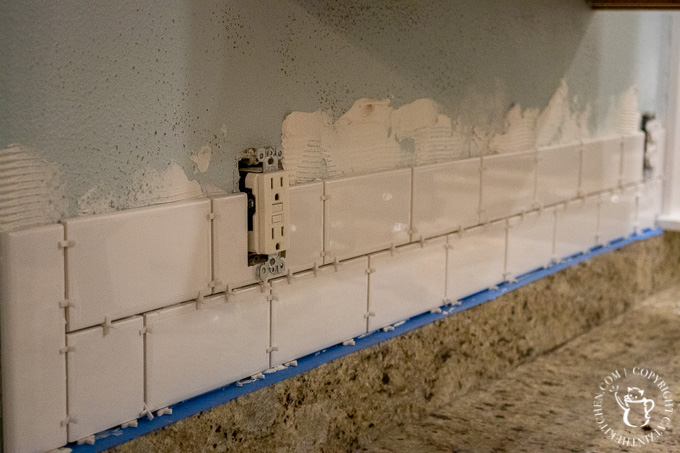
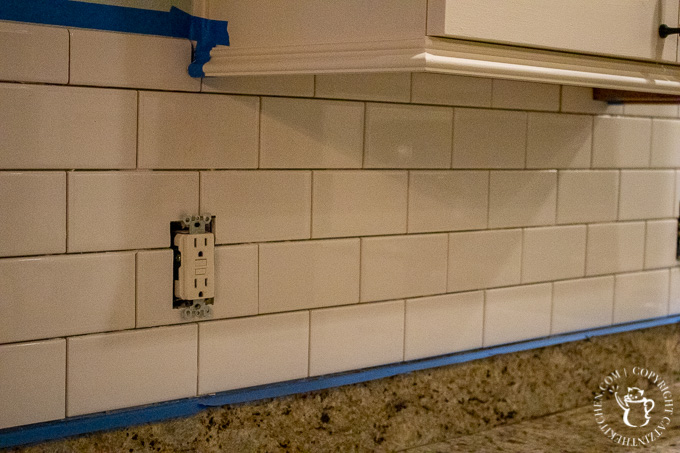
I found the process of actually putting up the tile to be a lot of fun, if I'm honest. The little granite backsplash made getting the rows level very simple (although I still checked them with a level as I went), the spacers worked like a charm, and a gentle press into the adhesive was enough to get the tile to stay where it was put.
Our kitchen space is not very complicated, but, of course, I still had to cut a lot of tile. Half width pieces for the ends of the rows, notches for electrical outlets and light switches, etc. It's not pictured here (it was outside on the back deck in nasty winter weather), but I did decide to purchase a simple Ryobi tabletop tile saw. I considered renting one, but I wanted to be able to work at my own pace, and hope to do more tile work in the future! Also, owning it came in handy later in the year when my neighbor needed to borrow it, and later on when my father-in-law needed to do the same. (I'll say it was actually a moment of pride to be able to lend a tool to my father-in-law. The man is something of a master craftsman, with two or three of every tool known to man...except a tile saw, apparently. He has loaned me countless tools over the years, so it was nice to be able to return the favor.)
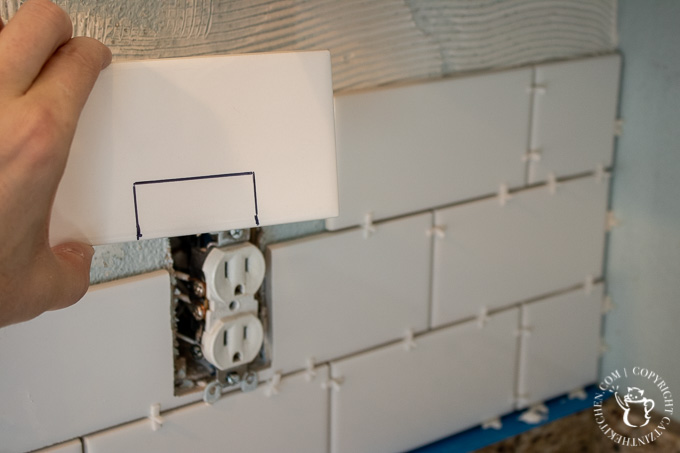
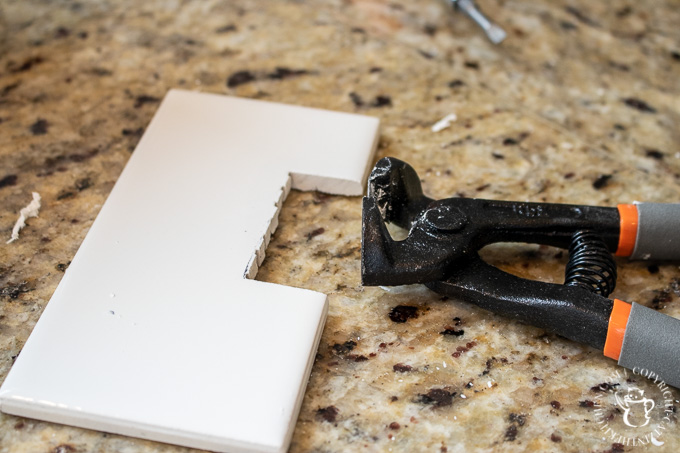
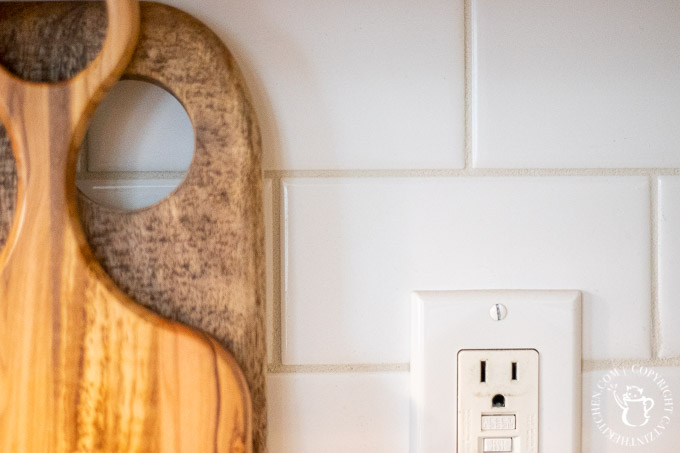
Cutting shorter pieces of tile is pretty straightforward on the tile saw, but the notches took some additional thought (another tip from the resources I mentioned earlier). You can't exactly turn a right angle with a spinning tile saw blade, so how to make a notch like the one above?
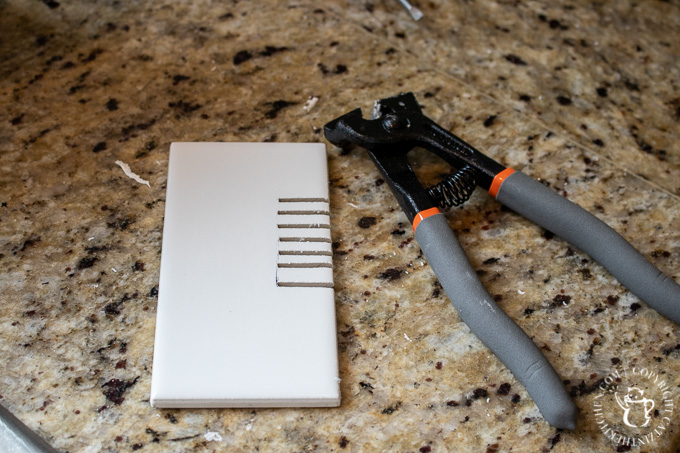
Surprisingly easy, actually! You use your tile saw to make a series of cuts next to each other that sort of "outline" the notch you want. Then, using tile nippers, you clip out each of the little tabs that remain. Nifty!
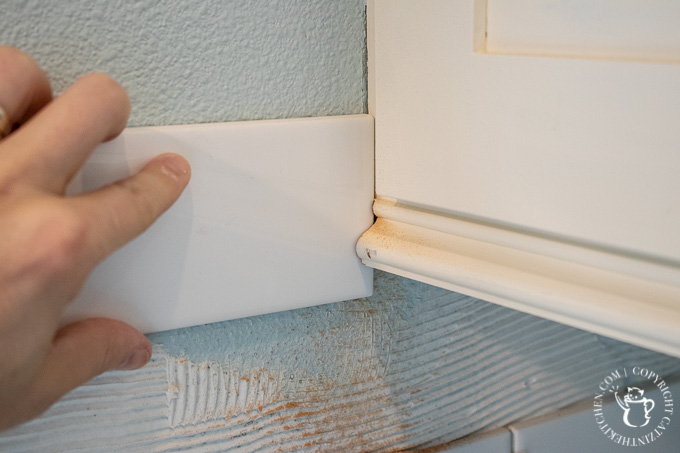
We have some little decorative moulding around the bottoms of our kitchen cabinets, and I had to give some thought to how we were going to work around that. There was no way I was going to be able to "jigsaw" it the way I might a piece of wood, but we happened to have a pro in our home about the same time I was gearing up for this project (working on the dry rot issue I mentioned in the post about painting our kitchen cabinets), and he suggested making a small cutout in the moulding for the tile to slip behind. Brilliant! I feel like I should have thought of that on my own...but I didn't.
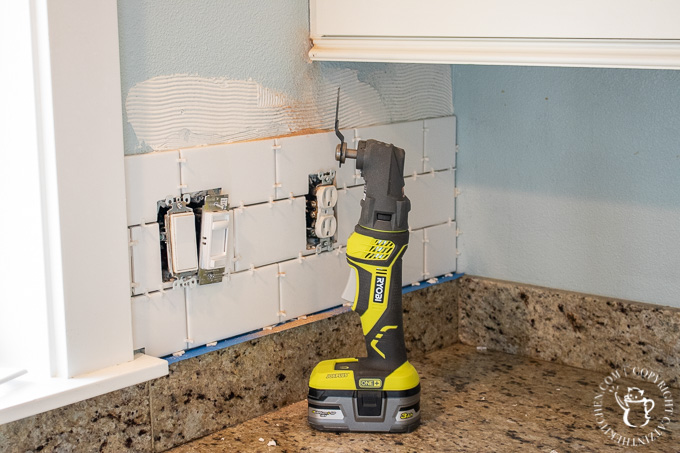
I used my Ryobi multi-tool (pictured above) to make the little notch cutout for the tile to fit behind, and it worked like a charm. Getting the tile cut to the correct size was still a challenge (and, yes, I definitely broke a few pieces of tile trying to get it to the right dimensions), but there was plenty of extra tile for trial and error.
We used bullnose tiles to finish off the exposed edges of the backsplash, which there actually wasn't a ton of for this project. Once all of the tile was up...that's when you start waiting. Waiting is not my favorite. In fact, I really hate it. I'm bad at it. But with subway tile...it's important.
As I recall, we gave our tile a solid 24 hours before beginning to remove all of the spacers (SO. MANY. SPACERS.). I have to say, removing the spacers and not having the tile fall down is immensely satisfying. It made me so happy. It's like...picking Elmer's glue off your hands in grade school. That level of satisfaction.
The next (and next to last) step was the grout, which I was even more nervous about - I was positive I was going to mess it up. Because of that, I unfortunately didn't take any pictures of the process! Also, my hands were constantly covered in grout and water, two things I really...really...wouldn't have wanted to get on my camera. But I digress.
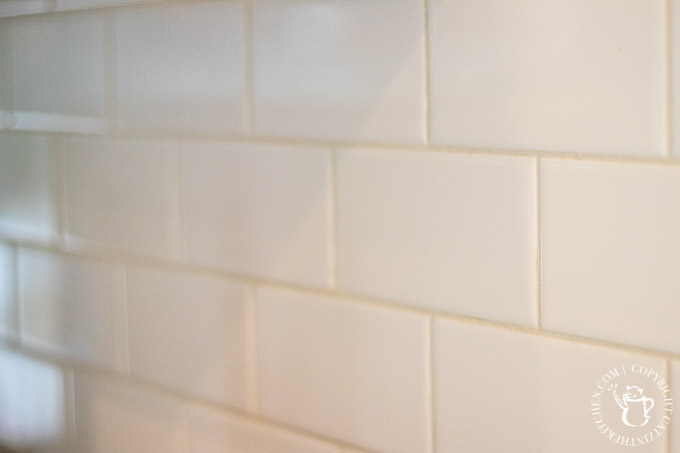
But it was easy! And...kind of fun! Because this project was small, I bought the premixed grout (if you're curious, we went with alabaster for the coloring, which gave a very light contrast, instead of white), which again made the whole project much easier. You basically just use the grout float to spread grout all over the tile, pushing it down into the crevices between the individual tiles. You then run the grout float back over the tile at an angle to remove most of the excess. Finally, about ten minutes later, you use a slightly damp sponge to wipe off the remaining excess (especially from the surface of the tile itself). Voila!
The last steps were to caulk the edges and the joints (the corner where the walls meet, where the tile met the granite, etc) with sanded caulk in the same color (alabaster) as the grout, and finally, after another 24 hours, to use tile cleaner to clean it all up and scrub off any remaining pieces of dry grout from the tile surface. (Some posts have mentioned having to "buff out" a grout glaze over the surface of the tile - we didn't have much of this to deal with.)
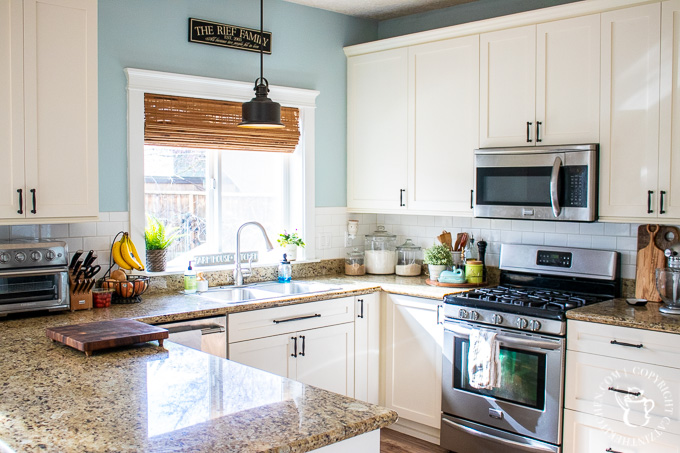
All in all (except for the waiting...) I loved this project. It was fun, surprisingly easy, incredibly cheap (the materials ran us something like $100), and deeply satisfying. Plus, we love the end result! Not only does it give the kitchen some additional detail and texture, but it's infinitely easier to clean after a messy meal. Cleaning spaghetti sauce off of drywall? No, thank you. Cleaning spaghetti sauce off of tile? Oh, yes. Winning.
DIY Subway Tile Backsplash
Need a classic, practical improvement for your kitchen? We're sharing our experience adding a DIY Subway Tile Backsplash...for about $100!
Materials
Tools
Instructions
See body of post for detailed instructions and resources.
- Clean and lightly sand wall surface. Tape off nearby surfaces.
- Lay out tile to ensure suffciency of materials and that end cuts will not be too narrow to work with.
- For first row of tile, use ⅛" spacers between tile adjoining surface.
- Use trowel to spread tile adhesive on wall, and then firmly place tile into the adhseive. Use 1/16" spacers between tiles and use a torpedo level to ensure row of tile is level. If one end is open, or not laying tile all the way to the ceiling (as in my case), use bullnose tile to trim the edges of the backsplash.
- As you begin the second row, ensure you are staggering the tile in your desired pattern (for me, this meant cutting the 6 in. tile in half, and staggering with a 3 in square).
- Use your tile saw and tile nippers to work around corners, trim, electrical outlets, etc.
- When all tile is laid, allow to dry for 24 hours, then remove spacers.
- Use grout float to spread grout generously over the surface of the tile, pushing the grout down into the gaps between the tile. Angle the float and scrape back across the tile surface to remove excess.
- Allow grout to set for about 10 min, and then use a lightly damp sponge to wipe off remaining excess grout.
- Caulk any joints with sanded caulk.
- Allow grout and caulk to dry for 24 hours, then polish as needed with tile cleaner.
Notes
This is a list of links to tools and materials I used for my project. You may need different tools and materials, depending on you rspace and design choices.


Leave a Reply