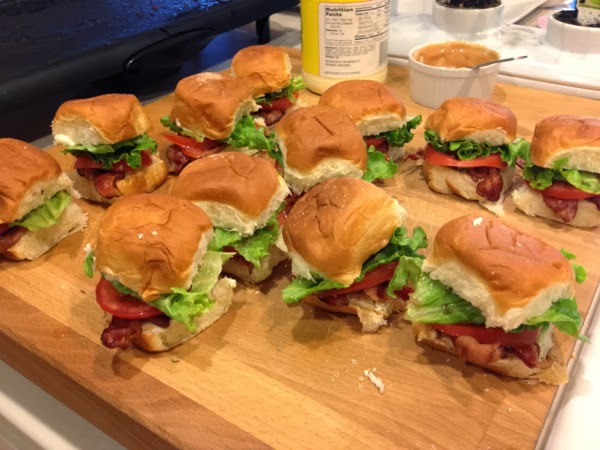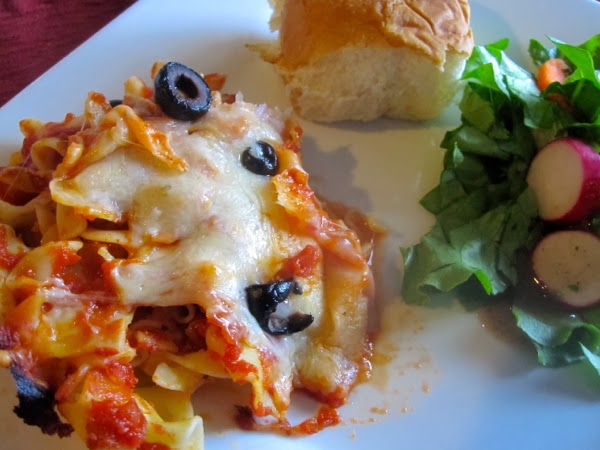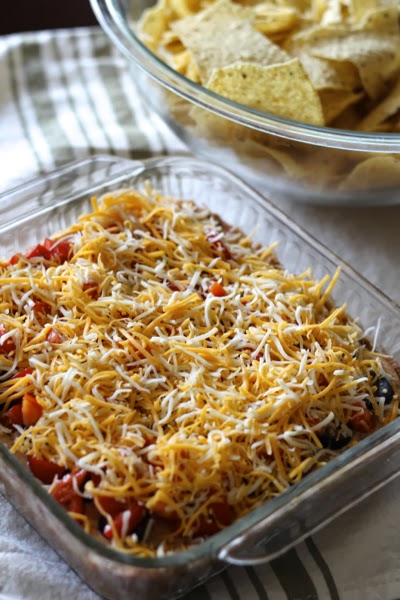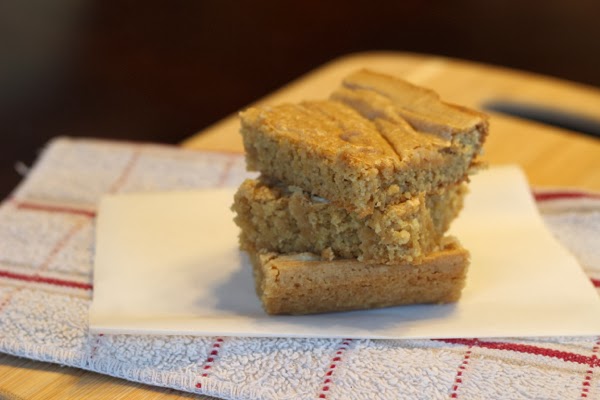
Super Bowl is on Sunday! Yes, I figured out when it is and I even figured out who is playing (thanks to the Super Bowl t-shirts hanging up in my grocery store). I can't say I'm rooting for a particular team considering I don't even watch the sport. But if I had to choose, I would choose the Seahawks because they are from Washington, which is the state directly above me and my sister and brother in law live there. So there is that. Onto the food! (Side note, some of the pics were before we got our new camera and are older posts. I am working on going through the older posts and re-editing them.)
Tuesday's Tidings for January 28, 2014
![]() |
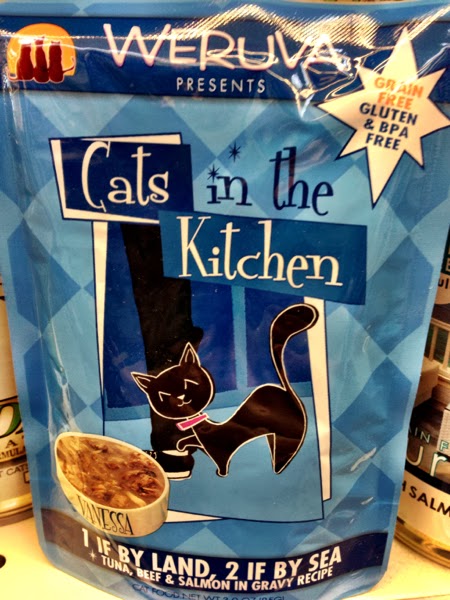
| Chels's mom found this at Whole Foods last week - how awesome is it?! |
Weekly Menu 1/27-2/2
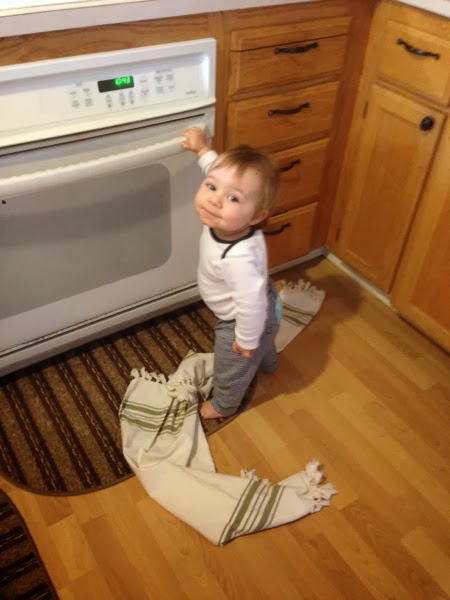
I don't even know where to begin this morning, I'm so tired. Christian broke in his 3rd tooth last week and I thought maybe we would be able to catch up our sleep. But he's got another tooth coming right next to the other one and this kid is not sleeping at all. He had me and Josh up pretty much all night. It's rough here. On top the of the teething, he doesn't want to eat or drink much. The drinking is already a problem because he does not like sippy cups, water, or juice! What's wrong with this kid? He is definitely more challenging at this point than my girls were. So if anyone has any ideas on how to get my kid off the bottle and drinking out of a sippy cup, I'm all ears, AND what do babies like to eat when they only have 3 teeth and are teething all the time. I need the help.
Can you believe February is at the end of the week? Valentine's Day is coming up and I love that holiday. I love all the pinks, reds, and purples, and all the guys bringing their ladies flowers! Everyone deserves to be shown how much they are loved.
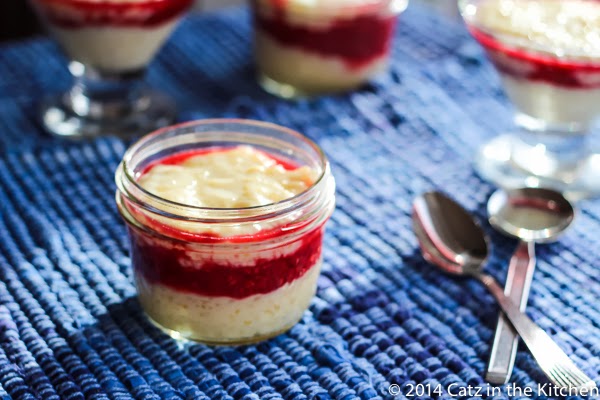
Raspberry Tapioca Pudding
Let's talk about teething for a moment. It sucks! I hate it. I hate what it does to my son, I hate what to does to my sleep which is already not great and I what it does to me emotionally.
Teething is horrible!
Last night was particularly awful. Christian did not want to take his medicine, so I had to hold him in my arms with his head back and throw the medicine in there and then shut his jaw so he could swallow it in between his screams, sobs, and tears. He bit my finger while I tried to put oral gel on his gums and the teething tablets, well I think that was the last straw for him. He was done after that and let the whole neighborhood know it.
Normally, I pretty good about getting up with him in the middle of the night. I don't mind to much because he is usually so good about going back to sleep. Except when he is teething. Night before last he got me up at 1am and then again for good at 5am. I never went back to sleep. So when he got me up at 12:15am and then again at 3am...I was pretty much done.
Thankfully, sweet Josh came downstairs (not like he would of been able to sleep through the screams anyways) and we suffered through the teething spell together. Christian didn't want his bottle, he didn't want me. He didn't want Josh, and he didn't want our secret teething weapon of sorbet (yes, I feed my son sorbet when he's teething. Don't judge.) which is unusual because he loves that stuff! I finally realized that I had left Blue, his bear up in his crib, so Josh ran back upstairs to get it, and that was what Christian wanted. His bear. He wrapped his arms around the stuffs neck and instantly seemed to be comforted. He did end up going back to bed and then getting me up again at 6:30am, but hey, the little man slept for a bit. So I'm happy.
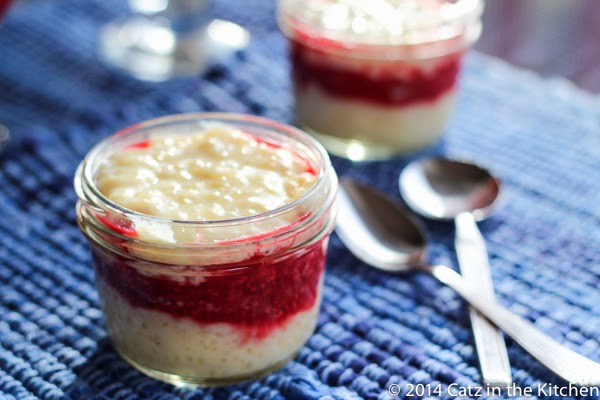
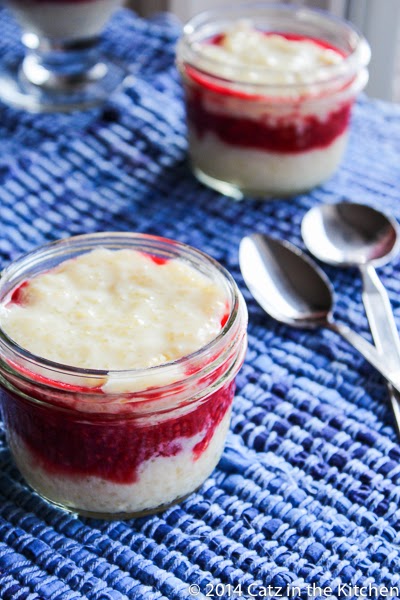
About this tapioca. I don't like tapioca. I've got memories of constantly trying this stuff out at Izzy's buffet when I was little. I never liked the texture, but loved how it looked. I always thought the little bubbles were beautiful, but I didn't like the way they tasted in my mouth. Josh, on the other hand loves tapioca pudding and I have never ever made it for him in the 10 years we've been married. Shame on me right? Well, I made this really simple version but added a little raspberry sauce to it because I thought I might like it better with the fruit in it. Which is kind of weird because when it comes to eating my yogurt, I will NOT buy the kind with the fruit already swirled into it. I want it plain or with a few fresh berries on top. I'm so picky. But guess what? I actually really enjoyed this little dessert! In fact, I would totally make it again.
Raspberry Tapioca Pudding
Recipe by Chelsia Rief
Creamy and smooth dimpled pudding that is layered with a sweet raspberry sauce. This pudding is not your typical buffet style dessert.
Prep time: 5 minutes
Cook time: 15 minutes
Total time: 20 minutes
Yield: 4-6 servings
Ingredients
- ⅓ cup sugar
- 3 TB Kraft Minute Tapioca
- 2 ¾ cup milk
- 1 egg
- 1 teaspoon vanilla
- 1 teaspoon honey
- 1 ½ TB lemon juice
- 1 ½ teaspoon cornstarch
- 2 cups fresh or frozen raspberries, thawed and drained
- 2-3 TB sugar
- 2 TB water
Cooking Directions
- To make the sauce, combine in a small bowl the lemon juice and cornstarch. Set aside. In a medium saucepan, combine the berries, sugar, and water and bring to a boil over medium-high heat. Reduce to a simmer and stir in the lemon juice and cornstarch mixture. Stir until the sauce thickens slightly. Remove from heat and set aside.
- To make the pudding, mix sugar, tapioca, milk, egg, and honey in a medium saucepan and allow to stand for 5 minutes.
- Cook on medium heat, stirring constantly (don't walk away), until the mixture comes to a full boil. (The mixture should continue to boil while stirring.) Remove from heat and stir in vanilla.
- Cool for 20 minutes and stir. The pudding will thicken as it cools. Stir.
- Layer the pudding and raspberry sauce in small dessert bowls and either serve warm or chill it in the fridge until ready to eat.
January's Cooking Class
A few weeks ago, I went to January's cooking class hosted by my sweet friend, Lisa. It was so so much fun! Not only did we make some fantastic food, but we picked up some pretty awesome cleaning tips as well. I've kind of taken some of the cleaning tips and began to run with them.
The first half of the class was all on freshening up the house! After Christmas, the house (well maybe not your house, but my house does) not only feels stuffy, but also empty. Stuffy because the house has been slightly cluttered up and empty because all of a sudden it's gone! Lisa had some great ideas to spruce up your house, so that it felt homey, clean, and peaceful once again.
- Bring the outside in!
Whether it is bringing home flowers from the grocery store, planting bulbs in a pot, or bringing a little rosemary into the house, the color and smells just liven things up! I loved this idea. I adore having fresh flowers in the house. But I had never thought about planting bulbs and bringing them to life in your home before. I know my mom is doing it, but when Lisa mentioned you could do it in a mason jar, I thought how fun of a homeschooling project that would be!
- Vacuuming under your bed.
This isn't something real easy for me to do. My bed is very heavy and the bottom of it is very low. So not only do I not stash anything under there (except for one blanket) but it is tricky to clean it out. However, if I could (and maybe one day I'll make Josh help me) I know that my cat likes to sleep under there when she is trying to escape from Christian and dust can also collect. Using the best handheld vacuum from Bissell is a great way to make the area beneath your bed clean again.
- Wash your mattress cover.
Something I never do, but recently did, thanks to Lisa's suggestion. I change my sheets all the time, but washing the mattress cover? The thought never really occurred to me. It's not something you should do all the time. I would say maybe a couple times a year, but it did feel good to know that it did get washed. I know Lisa got a new Leesa mattress after looking at https://www.leesa.com/pages/leesa-vs-casper so she won't have to worry about cleaning anything for a while.
- Cleaning out the fridge and oven!
Those of you who follow me on Instagram, know that I clean my fridge out fairly often. I hate seeing milk stains, crumbs, and sauce spills. So I usually scrub my fridge out every month and half. But my oven! Well, I do not do that often. But last week I did. I had my husband spray my whole oven down with an oven cleaner and then the next morning, I wiped everything off with paper towels. I do have a self-cleaning oven, but the fumes bother me.
- Cleaning Sprays
Lisa went through all of her favorite cleaning products with us and I was fairly surprised to see some of the basic pantry items could be used for cleaning. I tried out the vinegar and dish soap concoction last on my bathroom and I was IMPRESSED! It was super easy and it has multiple uses. Safe for kitchens and bathrooms! Josh even used the spray in the showers and tubs and was impressed. He said it did a better job than the scrubbing bubbles we were using and it is super cheap to make. Way cheaper than buying something from the store and it is safe for you. I've gone a step further with this and found two other "recipes" for glass cleaner and dusting spray. I have all the stuff I need to make them now, I just haven't had a chance to do it.
There were a bunch of other things we wrote down that we talked about, but those were some of my favorites.
Now, onto the actual cooking class. I can't wait to make some of these recipes for you! We made drop biscuits, lemon thumbprint cookies, a citrus salad, and chicken pot pie. All were delish! I have other recipes for the biscuits and chicken pot pie, but I actually prefer hers. So I think I'll be using those ones from now on. The cookies were so bright and cheery. And the salad, honestly, could not be simpler or tastier.
I can't wait to share some of those recipes with you. And I will share the glass and dust spray too, once I make it and try it out!
Next month's class is Valentine's Themed, so we're making Italian food. Only one of my favorites! I'll make sure to take pics of that class to share next time.
Tuesday's Tidings for January 21, 2014
1. A common problem with toddlers. I hang them up, he tears them down. A vicious never-ending cycle.
2. Downton Abbey S:4 Epi:3- *SPOILER ALERTS*
Okay, a marriage proposal??? Already??? WOW! Thank goodness Mary had the good sense to say," No." But during that whole scene, my thoughts were with Anna! If Mary were to of said,"Yes" then that goon would of been moving into Downton Abbey! BAD BAD BAD! Why do I feel like we have not seen the last of Edna yet? Edith certainly can't say she is any better than Mary now. I mean, really? I was pleased with Rosamund for saying what she did. But I think Edith is just to blinded with the fact that someone is showing an interest in her to care about the aftermath. She is now, technically, as Mary has put it in the past before, "Damaged Goods." Thoughts??? It was a slower episode, but some really powerful lines played. "Better a broken heart than a Broken Neck." And the line that Mr. Bates delivered to Lord Grantham about how Anna is perfect and could never do anything wrong so it must of been him that's made her so upset, just about killed me.
3. I've got plans for my laundry room. Right now, it's not very cute and I want it cuter! I love the idea of this tabletop over the machines with a shelf. Josh and I are going to make it happen!
4. I was in a grumpy mood last evening. I was tired. No energy. But it's amazing, I got started on dinner, and began slicing the garlic and instantly I started to feel better. Cooking Italian food is just amazing!
5. Valentine's Day is coming up. What do you guys usually do? Josh and I usually make a nice dinner here at the house with the kids.
6. We were at the mall Saturday evening and we walked into A Children's Place for a brief moment and fell in love with hats for Christian. We got him two fedoras and a cute paperboy hat all for $1.99 a piece! Such a steal!
7. I just bought my first new wallet in like 5 years this weekend. My other one was just falling apart and I found this cute black Kenneth Cole Reaction wallet at Ross, on Clearance. I could not pass up the price and I love it!
8. No joke, Josh found a pair of pants for his dad at Old Navy the other day for $.47! Yes, really, we only paid that much. So crazy!
9. Today, I'm going to be DIYing! I've bought the few extra ingredients I needed to make an At home Dust Cleaner and Glass Cleaner! I'm so excited. I've got the spray bottles, the vinegar, the rubbing alcohol, and the essential oil, which was the most expensive of the items at $5.39. I've already made an all-purpose vinegar cleaner that you can use in your kitchen and bathrooms and it works beautifully! I cleaned our bathroom counters and floor behind the toilets and it made the areas sparkle and Josh used the cleaner on the showers and bathtub and loved it! So much cheaper and so much better for us!
10. Josh got this breakfast sandwich maker for his b-day and we've used it a bunch of times and we love it!!! So many possibilities!
Weekly Menu 1/20-1/26
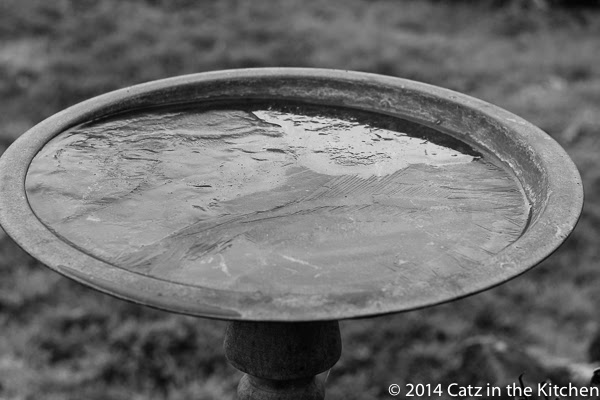
This morning, everything was frosted over so I decided in all of my brilliance to run outside real quickly and grab a few photos...without shoes or a coat. Not a smart idea. After being outside for only a few minutes, my feet started to burn because of how cold they were. Not my smartest moment, but it was really beautiful with the fog out in the distance and Jack Frost everywhere. If this is the closest that I can get to some snow, then I'm going to savor it.
I love this stretch of the year because of all the holiday Monday's coming up! Getting to have Josh home on a Monday is just nice. The kids love it because they don't have school and he is home with them, I love it because I don't have school and I have help with all of the kids and just being together is really nice.
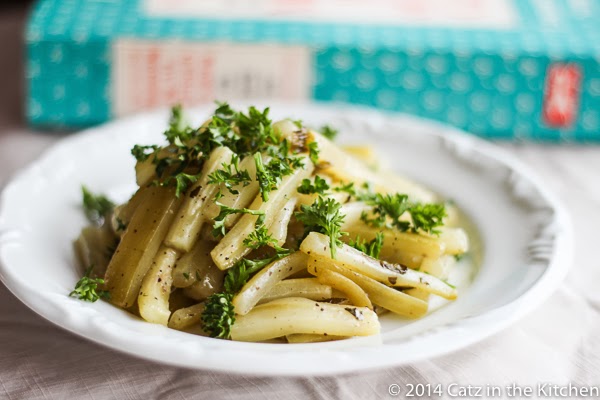
Julia Child's Baked Cucumbers
My short-term cooking goal of the year was to make five Julia Child recipes in a year. My long-term goal (which is the goal I'm really shooting for) is to make one Julia Child recipe a month and featuring it here on Catz for you.
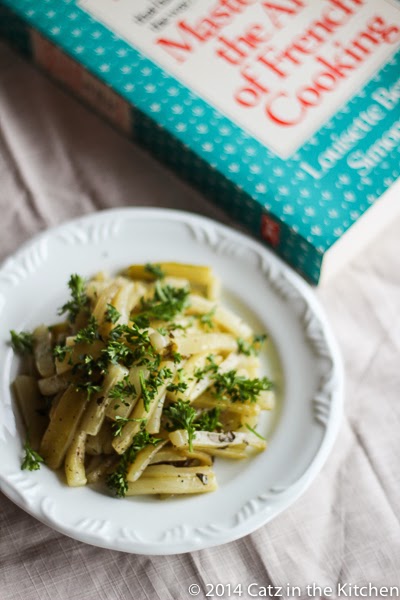
Josh and I recently watched Julie and Julia again, which is probably one of my very favorite movies. It involves food, so what's not to love. One of the scenes in the movie is Julie's birthday party. She's talking about how good the lobster thermador is, how she is obsessed with Julia, and that "braised" cucumbers are a revelation to her. Braised??? I looked the recipe up in my very own "Mastering the Art of French Cooking cookbook and I could not find anything about a braised cucumber. I did find a baked cucumber recipe and then I went online to see if it was the same one that is referred to in the movie. It was. Why the name change in the movie? I'm not quite sure.
Yesterday, I wrote a "How To" (wait, did that mention of How To, throw anyone back to the movie "How to Lose a Guy in 10 Days?" How To Girl: Andie Anderson here!) #losingmymind
Anyhoo, I wrote a "How To" post on blanching cucumbers which is very much recommended by Julia Child for this recipe. It's a very simple step that will ensure great results with your baked cucumbers.
Baked cucumbers taste like little pickles. While I enjoyed the flavor of the cucumbers and the techniques that went into making them, the overall texture was a thing for me. I like my cucumbers with the peel/skin on. Without the peel, I think they are a bit wet, even though they are still very crisp. Eden and I are the major pickle lovers of the family, and oddly enough, we weren't jumping up and down over them. Josh and Grace however, loved them!
Regardless, it is a really neat recipe. A really simple one to start out with in her cookbook and one I really enjoyed making. It was a fun change from the side of green beans we have often with our dinner.
Julia Child's Baked Cucumbers
Recipe from Julia Child's Mastering the Art of French Cooking
Baked cucumbers take on a lemony pickled flavor that makes for a truly inspired French side dish.
Prep time: 45 minutes
Cook time: 1 hour
Total time: 1 hour and 45 minutes
Ingredients
- 6 cucumbers, about 8 inches long
- 2 TB white wine vinegar
- 1 ½ teaspoon salt
- ⅛ tsp sugar
- 3 TB melted butter
- ½ tsp fresh basil, chopped
- 2-4 TB green onions, minced
- ⅛ tsp black pepper
Cooking Directions
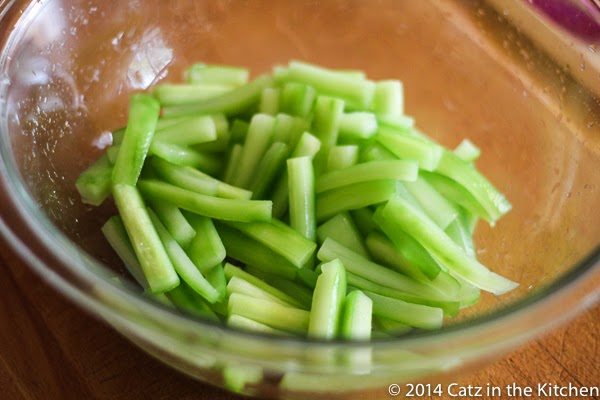
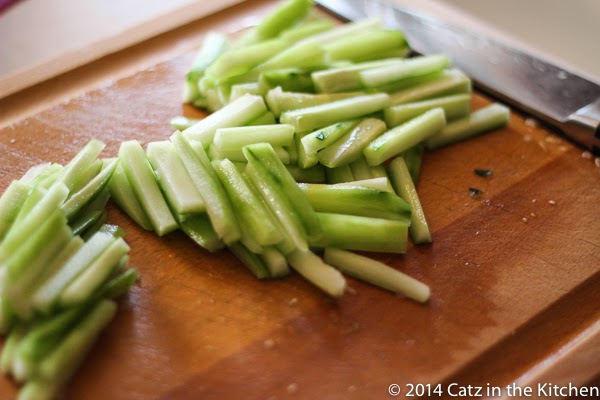
- Peel the cucumbers and cut in half lengthwise; scoop out the seeds with with a spoon. Cut into lengthwise strips and then cut those strips in half, making matchsticks. Blanch the cucumbers.
- After you've blanched the cucumbers, drain. In a medium sized bowl, toss the cucumbers with vinegar, salt, and sugar. Let stand for at least 30 minutes or up to 2 hours. Drain and pat dry with a towel.
- Pre-heat oven to 375 degrees.
- Toss the cucumbers in a baking dish with melted butter, basil, onion, and pepper and bake for 1 hour, tossing 2-3 times throughout the cooking process. Cook the cucumbers until they are still crisp and tender.
How To: Blanch Cucumbers
This post is a sister post to the one I'm sharing with you tomorrow. But in order to make the recipe I have for you tomorrow, you need to know how to blanch a vegetable. In this case, we're blanching a cucumber.
Why do we blanch vegetables? Sometimes we do it so we can properly freeze the ingredient so that when we go to use it when we're ready to, it won't become mushy. Other times, it's required for a specific recipe (as in our case) and in other times, it's a great way to ensure that your veggie is still crisp-tender when you bite into and still is holding onto all of its wonderful vitamins and enzymes.
Cucumbers are one of those vegetables that if you are going to bake it, sauté it, or whatever else that includes cooking, you are going to want to blanch it because there is so much water in the vegetable.
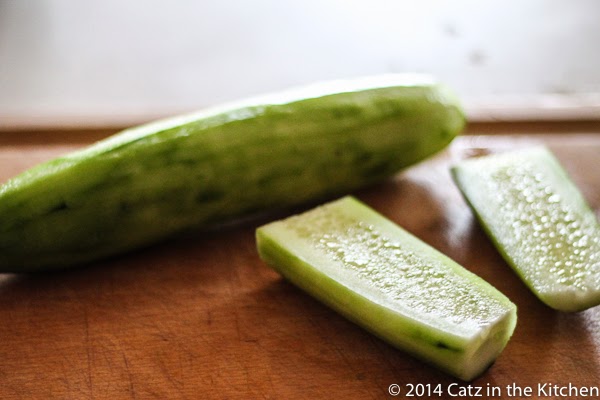
In the above picture, I've peeled the cucumber and cut into half length-wise. Bring a large pot to a rolling boil. In a large bowl, fill it with ice cubes and cold water. Set aside.
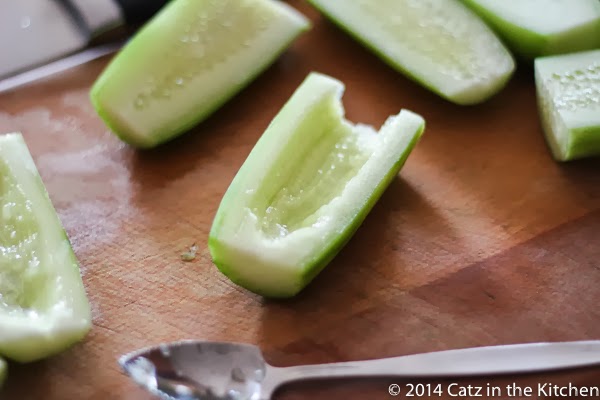
Once you've peeled the cucumber, scoop out the seeds. You can use a spoon, a knife, or what I find to be the most successful, is the grapefruit spoon. It's also what I used to scoop out the middle of the Taco Stuffed Zucchini Boats a few weeks ago.
For the recipe I'm posting tomorrow, I needed my cucumbers cut into matchsticks. But other recipes may just require you to cut them into discs and maybe not even have the seeds removed. It depends on the recipe.
Once the cucumbers are cut into matchstick slices, plunge them into the boiling water for about 1-3 minutes, depending on the vegetable. (For the cucumbers, I boiled them for about one minute.) Remove with a spider spoon or a slotted spoon and immediately place them into the ice cold water. Leave them there until they've cooled and then drain and dry off with a paper towel.
If you want to make sure you've done it correctly, you should be able to take a bite of the vegetable you've just boiled and cooled and there should still be a crisp bite to it.
Now you can either freeze your vegetable or proceed to cook it till perfect as your recipe indicates.
Reese's Peanut Butter Cup Cheesecake
I've been having "one of those weeks." I feel like I've been having "one of those weeks" for the past few weeks now. It kind of bites. There just do not seem like enough hours in the day and no matter how good my intentions are or how planned out my plans are, something seems to go awry. I've been tired lately. I'm sure that is very much a contributing factor. I'm sure that is most "mom problems" when you have a toddler in the house. Ohmygosh...did I just call Christian a toddler? Say it isn't true! Where did the time go? Come Baaaaccck!
Sleep derivation causes lunacy. It's a fact. Wanna hear another fact? I knew that as soon as I saw my friend Deborah from Taste and Tell posted this cheesecake back in the beginning of December, I just knew Josh was going to want me to make it for his birthday. I just knew it! And I was right! I know my husband so well!
This is one decadent, rich, utterly fantastic cheesecake! I've made several cheesecakes in my life and this one is probably one of the better ones! It out does any cheesecake at the Cheesecake Factory, I promise!
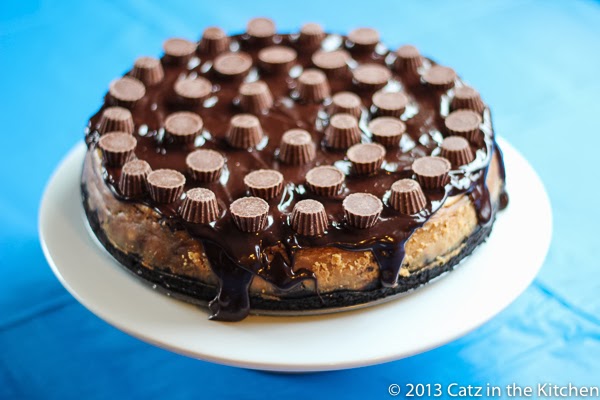
Sadly, as it is with birthday parties, I don't have a picture of a cut slice of the cheesecake. We took some, but by the time we did take those pictures, the light had already gone and the pics were yellowy, blurry, and not at all good! Another thing that didn't go my way, lol! Oh well, such is life. The inside of the cheesecake is just gorg though. More Reese's Peanut Butter Cups are chopped into chunks and proportioned throughout the entire cake. It is a thing of beauty and a taste of heaven! If everything else is going wrong in life, I promise that you can make this cheesecake (it's not hard at all) and everything will be right with the world and perfectly balanced. This cheesecake fixes everything!
Prep time: 25-30 minutes
Cook time: 1 hour and 15 minutes
Total time: 5 hours
Yield: 20-23 servings
Ingredients
- 30 oreo cookies
- 6 TB butter, melted
- Dash of salt
- 32 oz cream cheese, softened
- 5 eggs
- 1 ½ cups brown sugar
- 1 cup smooth peanut butter
- ½ cup heavy cream
- 1 teaspoon vanilla extract
- 12 oz Reese's Peanut Butter miniature cups, unwrapped and roughly chopped into chunks
- ½ cup heavy cream
- 1 cup semi-sweet chocolate chips
- 1 (8 oz) pkg Reese's Minis
Cooking Directions
- Pre-heat oven to 325 degrees.
- In a food processor (or blender) place the chocolate cookies inside and process or blend until they form a fine crumb. In a medium sized bowl, pour in the cookie crumbs, melted butter, and salt and stir with a spoon until it's combined and resembles the look of wet sand. Press the crumb mixture into the bottom of a 9-inch springform pan and bake for 10-12 minutes. Set aside to cool. Once cooled, wrap foil tightly around the bottom and sides of the springform pan.
- In a large bowl, beat the cream cheese until smooth, adding the eggs one at a time. Scrape the sides of the bowl if needed. Add the brown sugar, peanut butter, cream, and vanilla extract, beating until combined. Fold in the chopped Reese's Miniatures and pour the mixture into the cooled crust.
- Place the pan inside a large high rimmed baking sheet and carefully add about 1 inch of hot water into the larger pan. Bake the cheesecake until set, about an 1 hour and 15 minutes. When the cheesecake is set, turn the oven off and allow the cheesecake to slowly come down in temperature for 1 hour. Remove from oven and place pan on a wire rack to finish cooling. Place the cheesecake in the fridge to cool all the way.
- When cheesecake is completely cooled and you are ready to make the topping, gently run a small knife along the edges inside the spring form pan just in case some of the sides sticks to the pan. Carefully, unclamp the pan and gently lift the outer pan off the cheesecake.
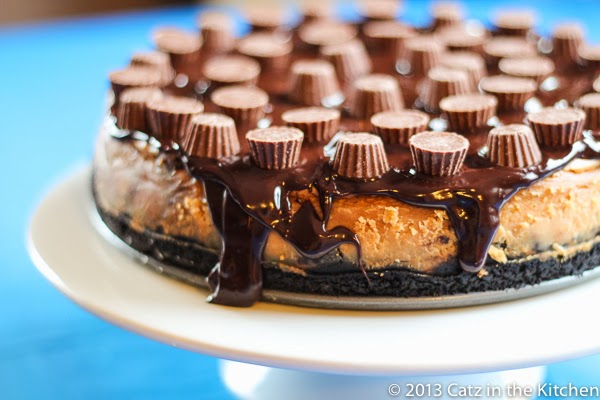
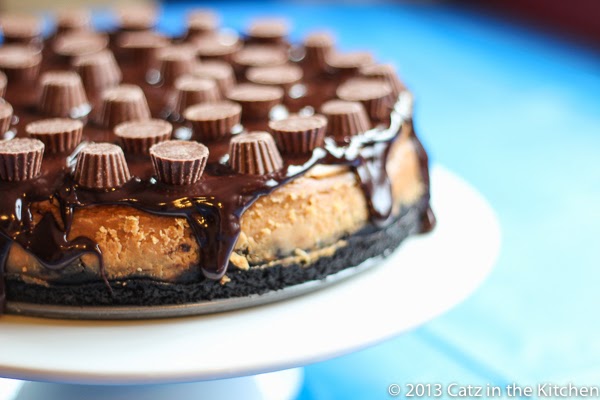
- To make the topping, heat the heavy cream just until it simmers. Remove from heat and pour in the chocolate chips. Let the chocolate soak in the simmered milk for a few minutes, then stir until it becomes smooth. Carefully pour the chocolate over the top of the cheesecake and decorate the top with the Reese's minis.
- « Previous Page
- 1
- …
- 114
- 115
- 116
- 117
- 118
- …
- 159
- Next Page »